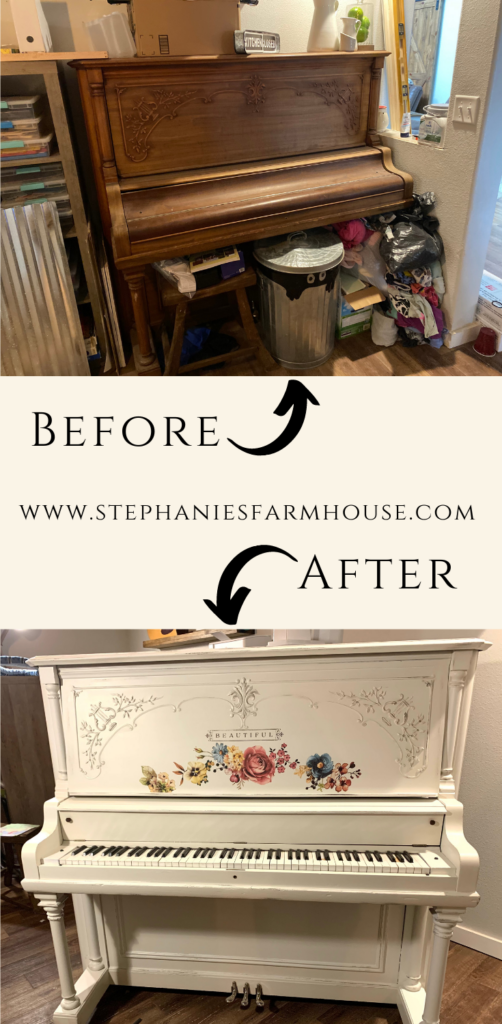
This piano was so fun to work on! From the moment my sister in law mentioned working on it my gears started turning. It was like a dream come true LOL. And so it began rolling around in my head, “How should I begin to easily refurbish an old piano…?”
How to Begin to Easily Refurbish an Old Piano
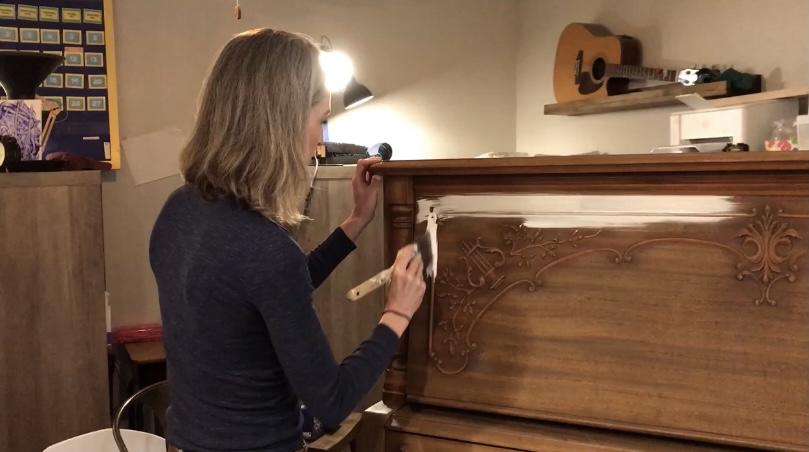
Someone along the way had started some kind of work on this piano before it landed in my hands. It had already been sanded so I started by simply wiping it down to clean it from dust and whatever else may have been on the surface.
Time to Prime
I used Kilz primer to start with on this piano.
Now for Paint
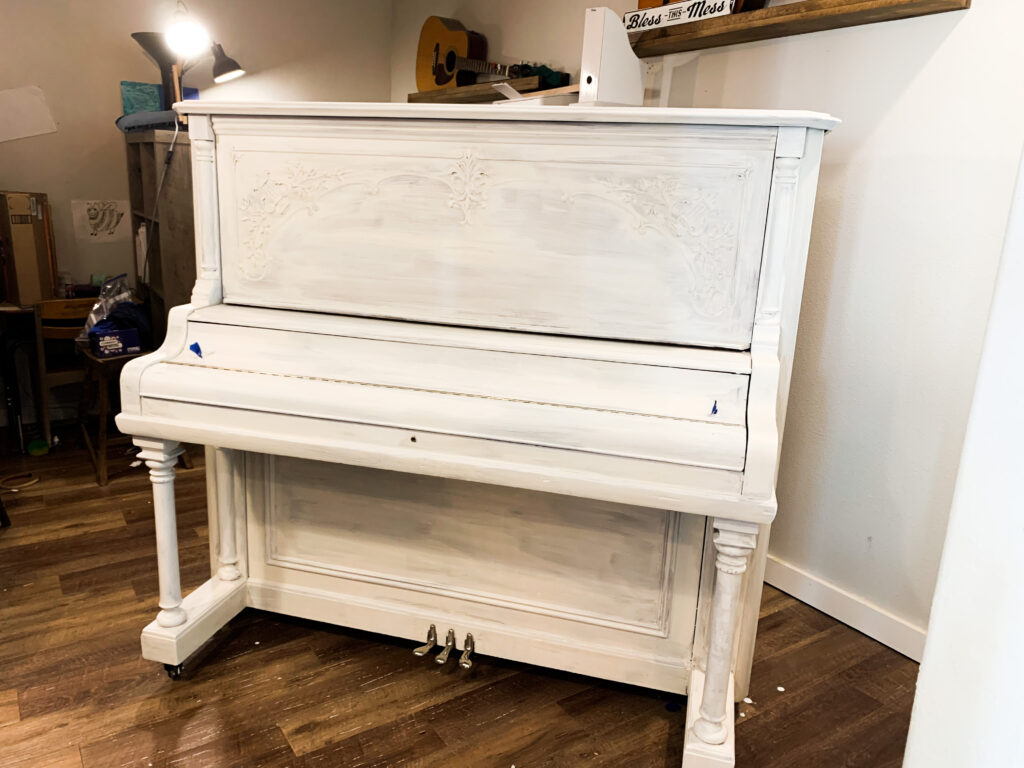
After it was completely dry I painted 2 coats of Sherwin Williams Cashmere Low Luster paint in the color Alabaster.
Time for Slight Distressing
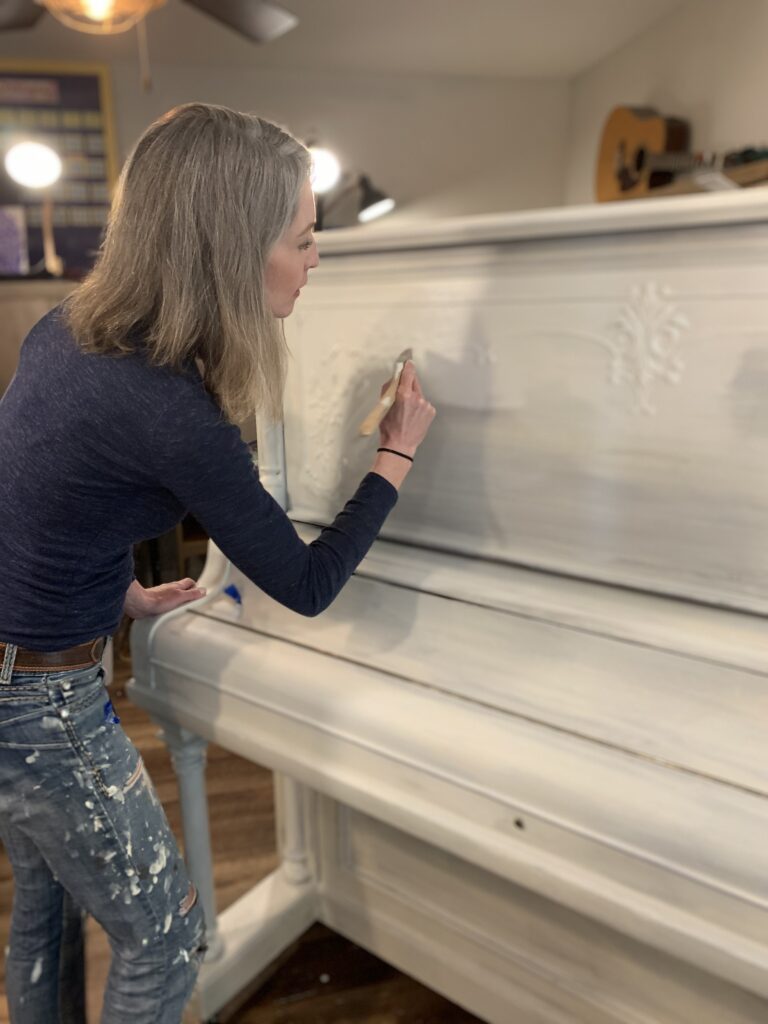
This piano had beautiful detail that I really wanted to emphasize. I use a technique I call dry brushing to add subtle distressing and enhance detail. Here is my video showing how to do it:
(7) Simple #DIY authentic looking #farmhouse #distressing!! – YouTube
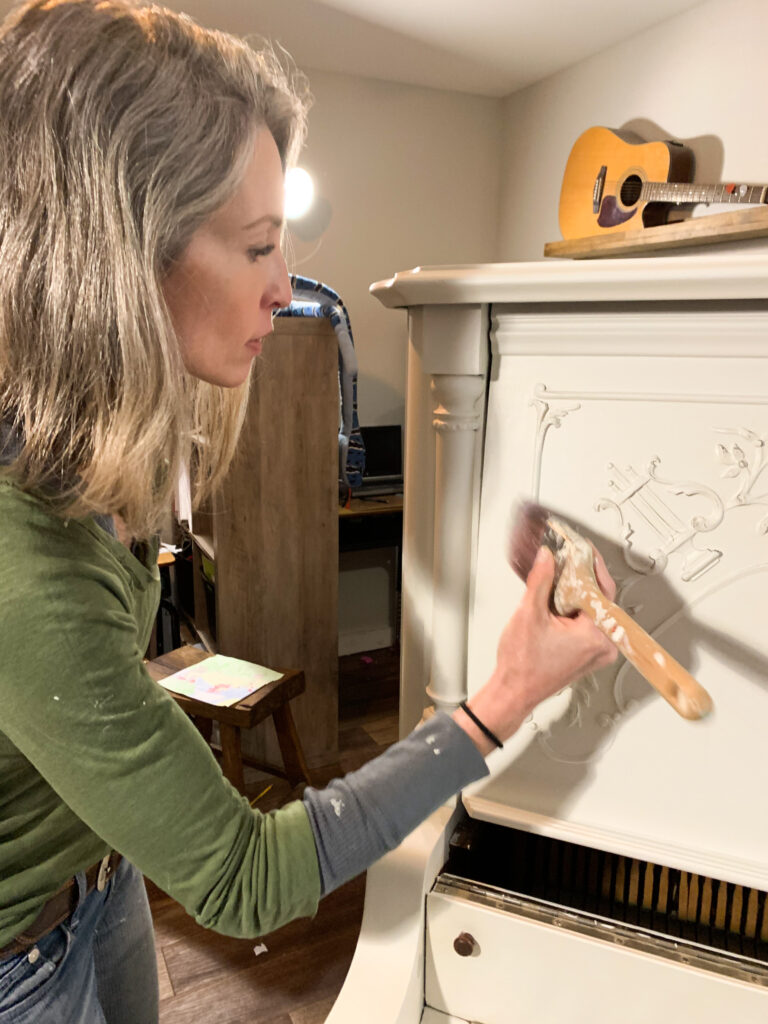
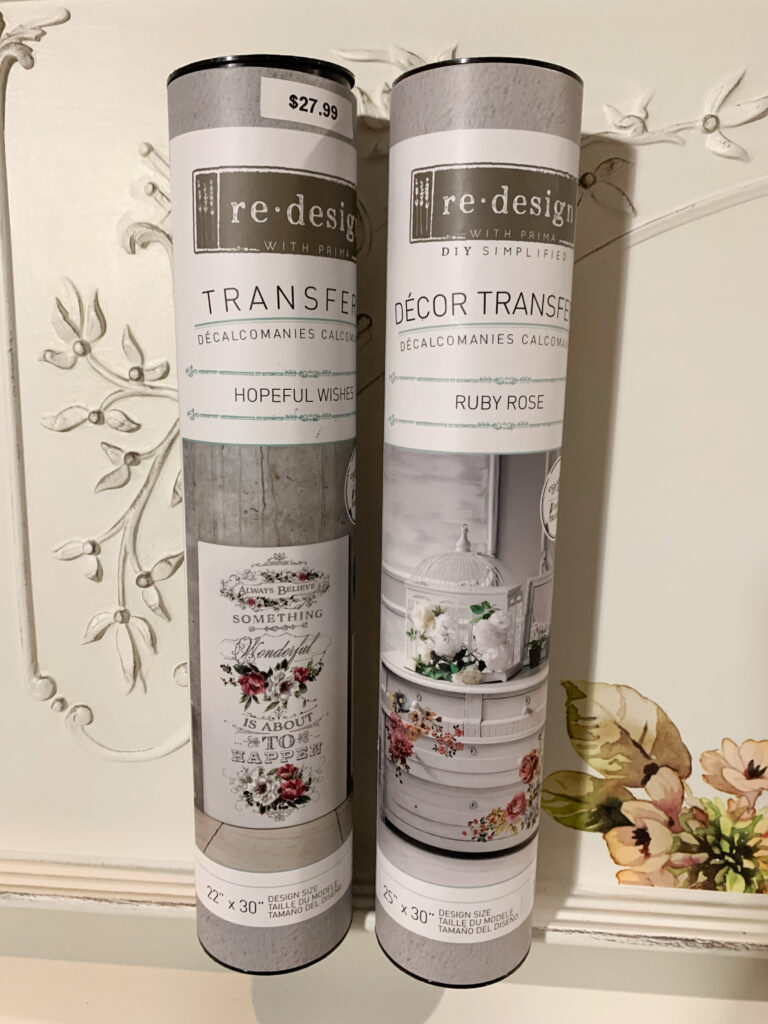
Time for Redesign With Prima transfers
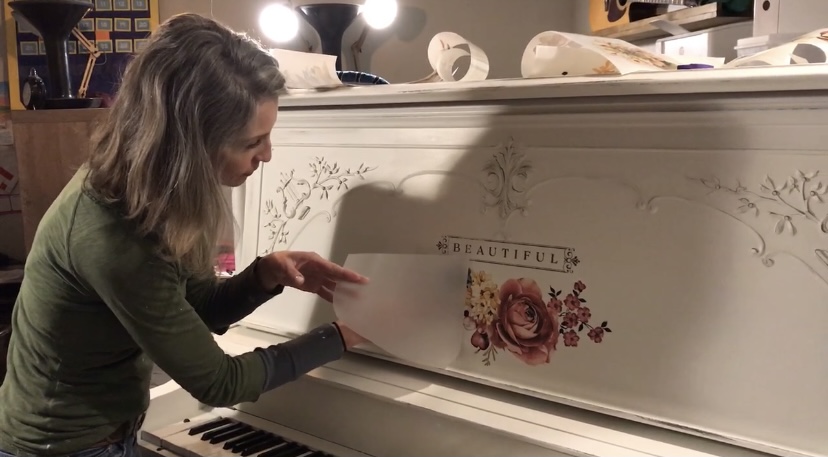
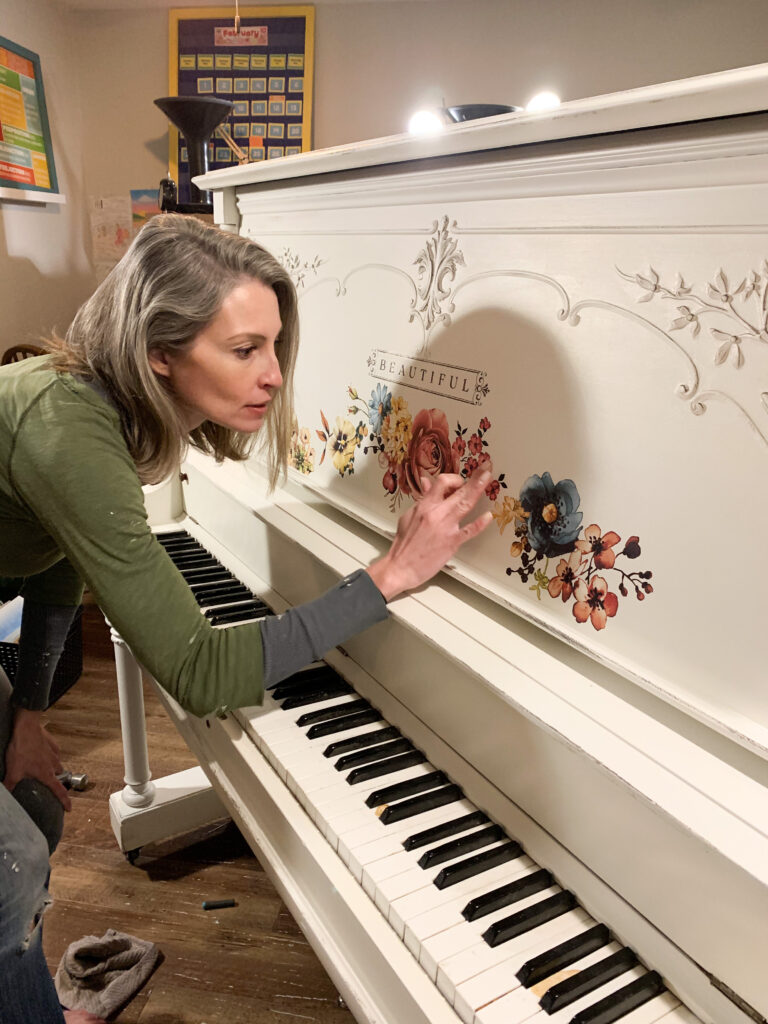
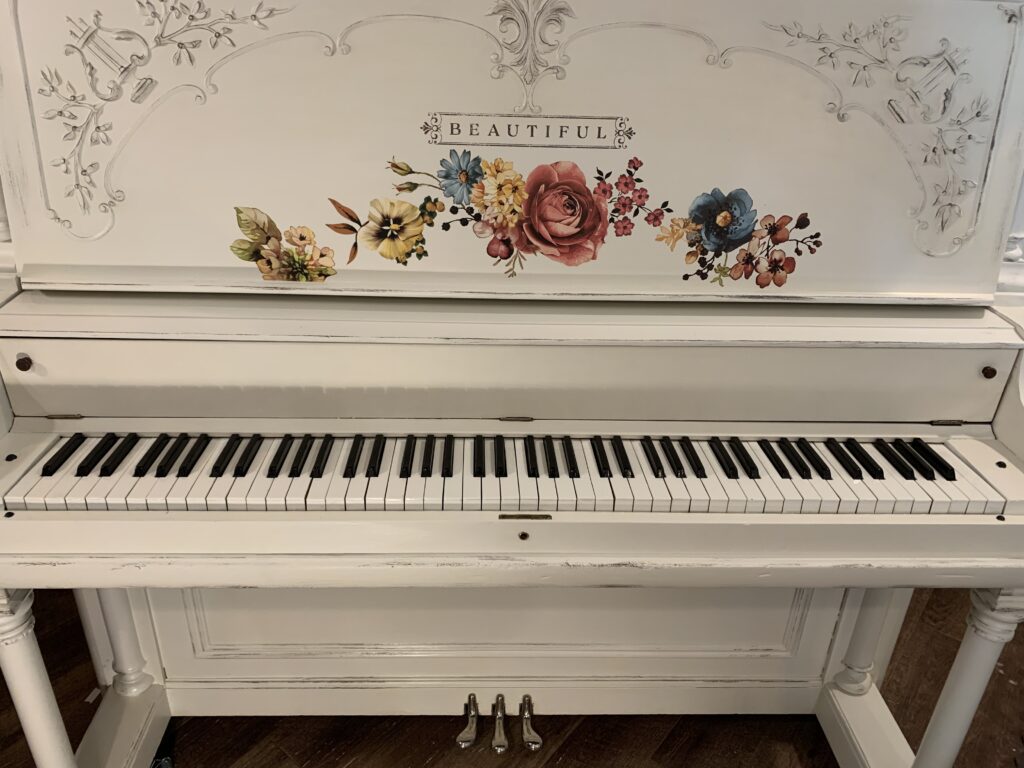
I really LOVE using Redesign with Prima transfers. They make it possible for anyone, regardless of artistic ability, to create beautiful things. You simply peel off the back, place the transfer where you want it, go over the transfer with the Redesign with Prima transfer tool, and then carefully peel of the top sheet leaving just the transfer on your piece. I usually run my finger over it to make sure it has good adhesion and no air bubbles.
Time for Finishing
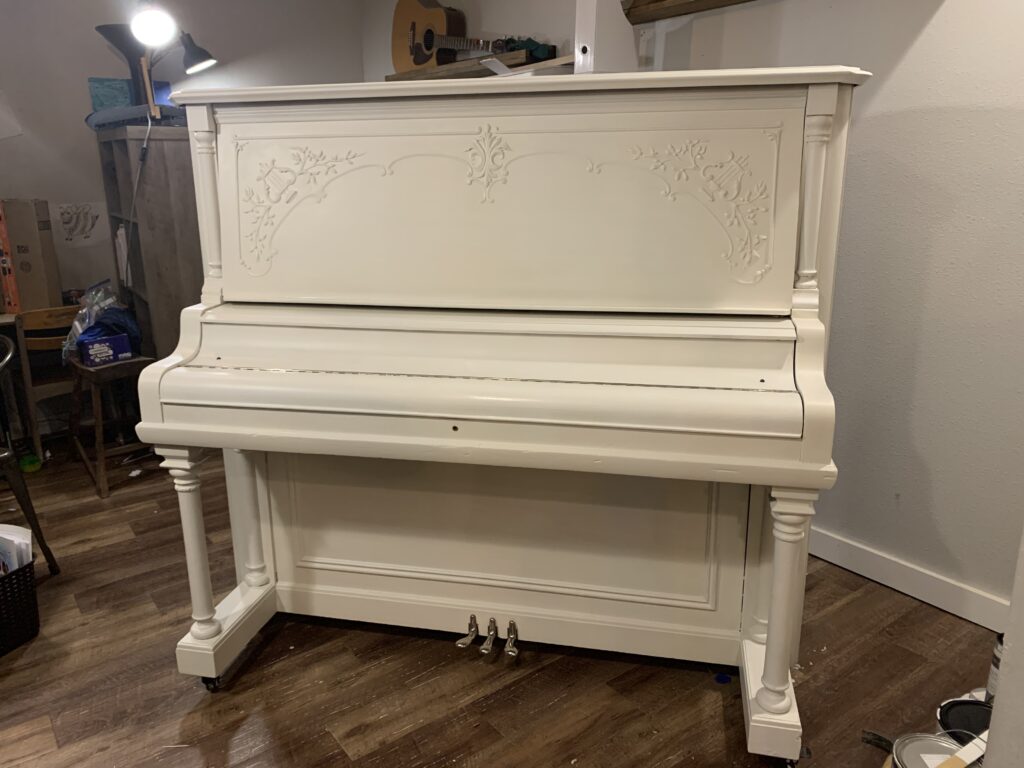
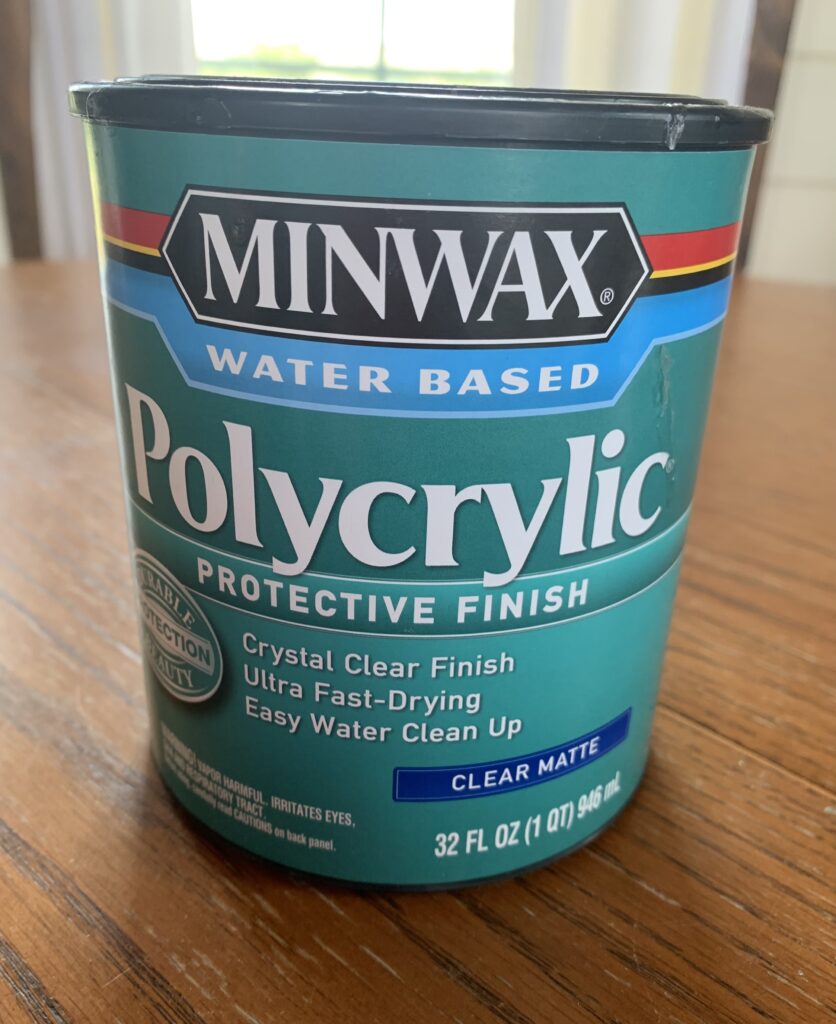
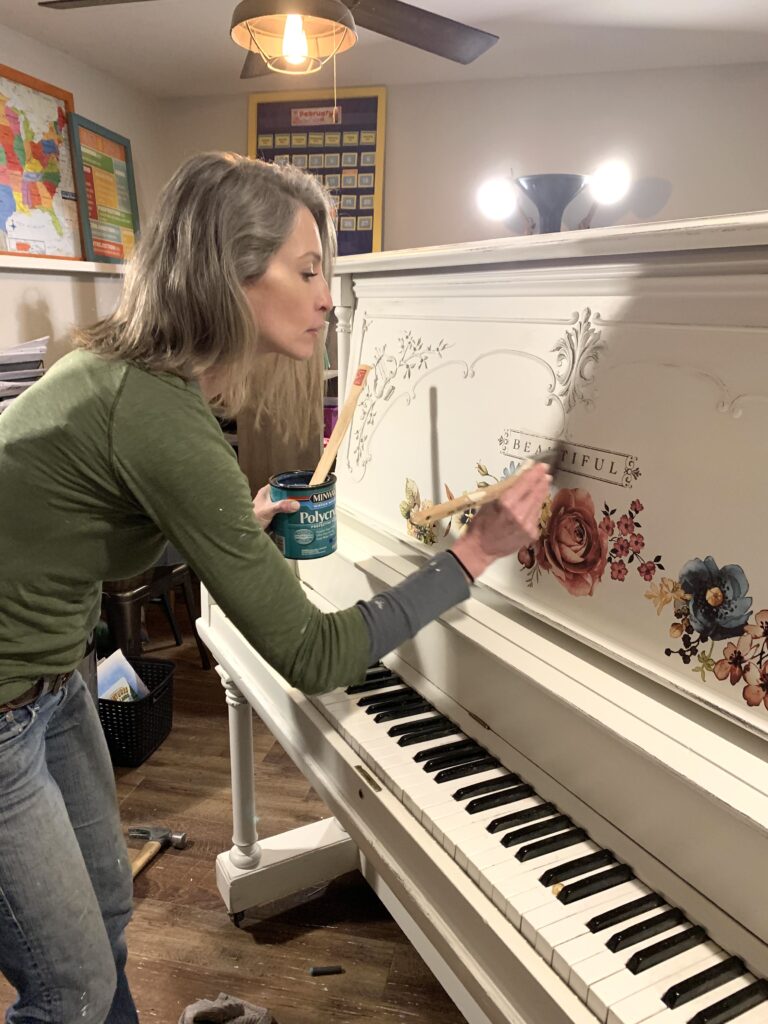
To wrap up this project and protect the paint and the transfer, I coated the whole piano with a coat of Minwax Polycrylic in clear matte finish.
Voila!
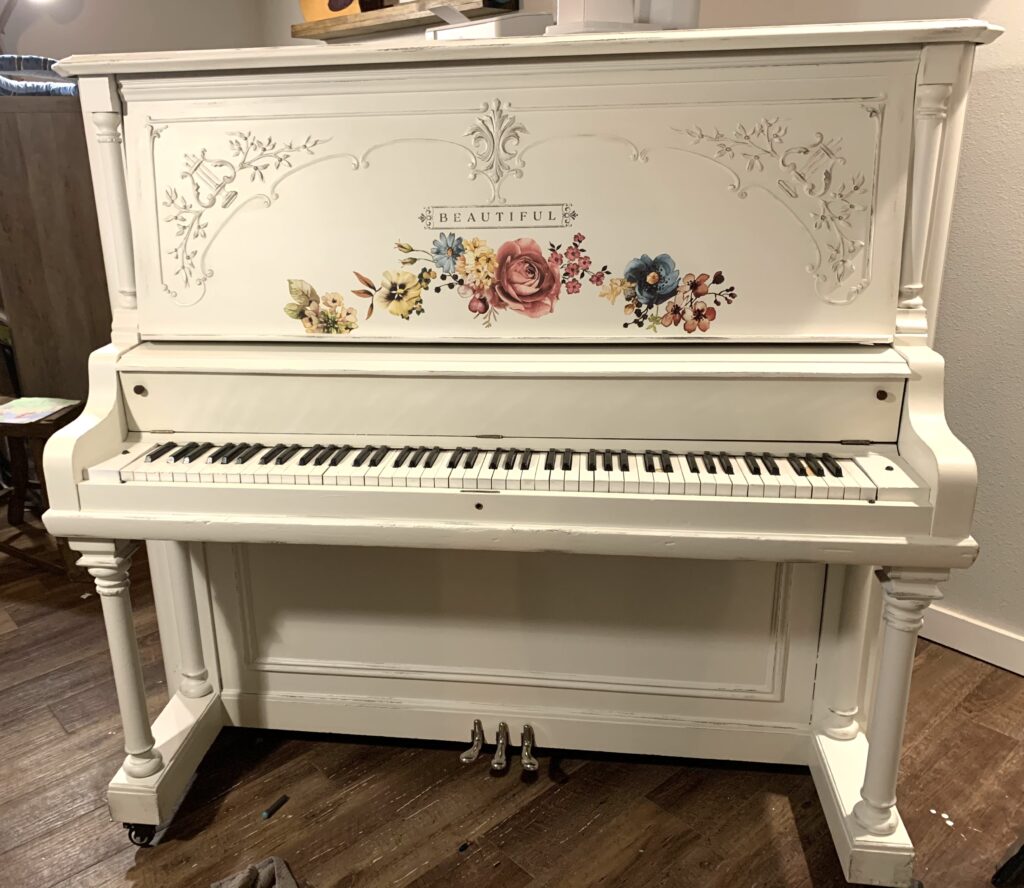
It is finished and I couldn’t be more pleased!
Here is my YouTube video for this project:
