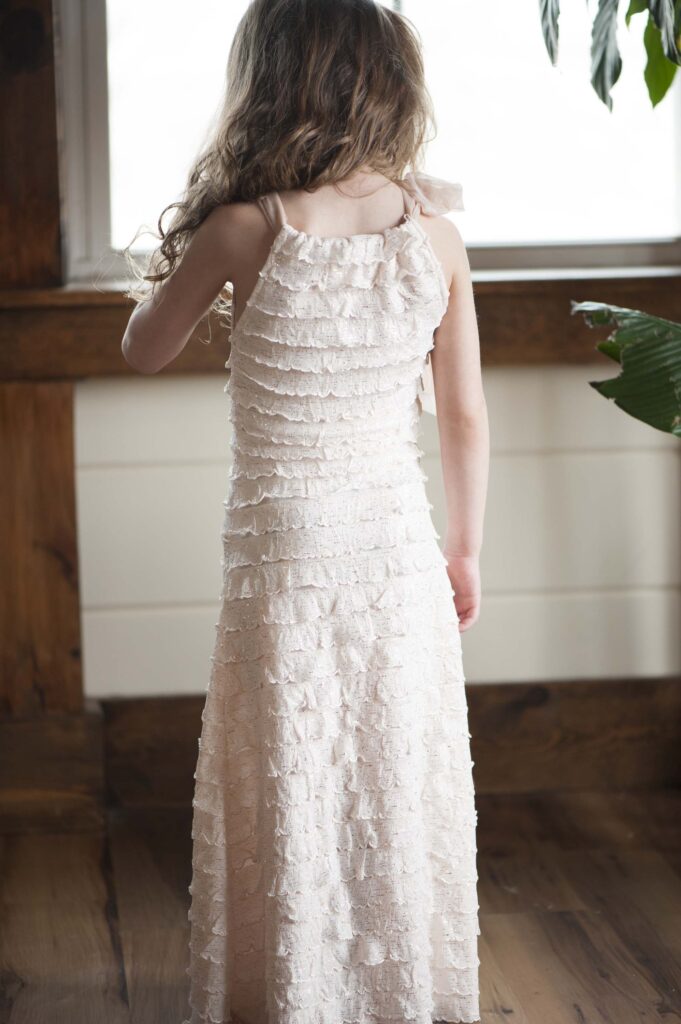
I started this easy no pattern toddler dress a few days before Easter and I was kind of freaking out with the time crunch LOL. Thankfully it goes together really fast!
Every year for Easter I make my kids their Easter clothing. My mother used to do it for me and it always meant so much to me that I’ve passed it on to my kids. I take my kids to the fabric store and they pick out their fabric.
Arianna Set the Theme for this Easy No Pattern Toddler Dress
This particular year, my daughter who was 4 at the time, set the theme. She picked out a beautiful rose gold fabric with delicate ruffles. I have to admit the fabric was GORGEOUS, but I was definitely wondering what I was going to make with it!
She loved it and HAD TO HAVE IT. I could see that the ruffles may be challenging if I chose the wrong pattern, but I was at least somewhat confident I’d come up with SOMETHING LOL.
After we got home, as I was looking at the fabric, it hit me. I had made an easy no pattern toddler dress for my older girls several years ago out of old bed sheets that would work perfectly with the ruffles.
Time to Get to Work on this Easy No Pattern Toddler Dress!
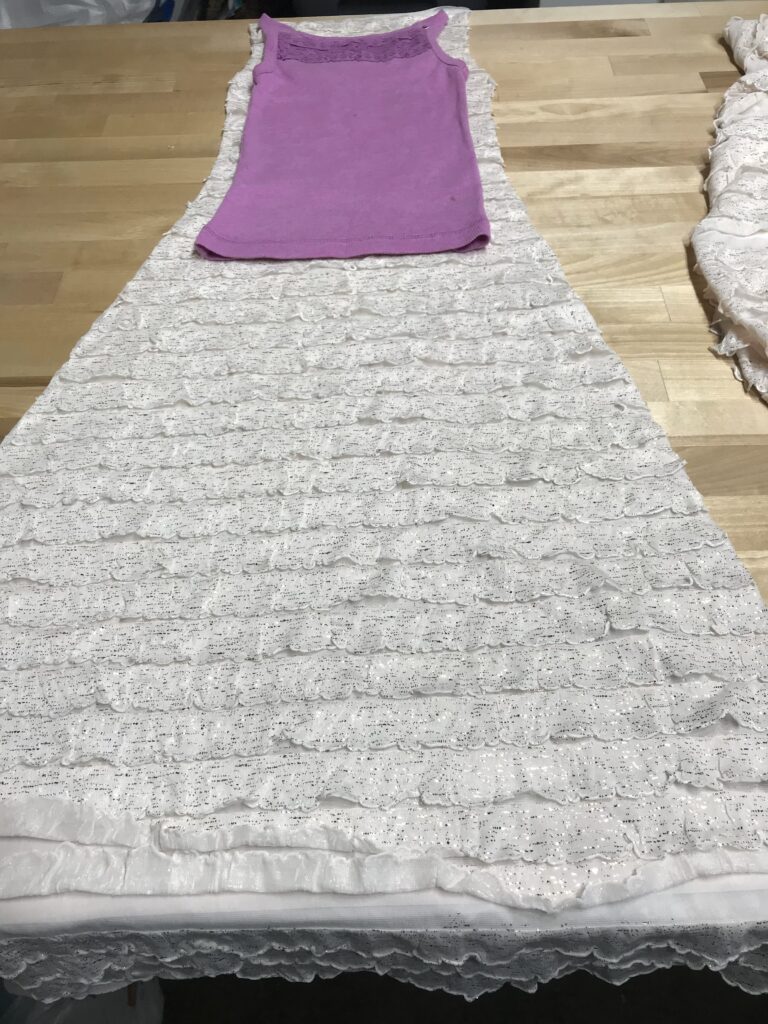
To begin, I laid out the fabric and placed one of Arianna’s favorite tank tops on it for size.

Cutting along the sides of the tank top I left enough fabric for a 5/8″ seam allowance plus a tad more because I didn’t want the dress quite as tight as the tank top. I cut the fabric in an A line shape from the waist down to the length I wanted the dress. An A line is just how it sounds. If you were to lay an “A” on the fabric and cut to follow the outside of the “A”, you would get an A line cut.
I cut straight across the neck line from strap to strap instead of following the scoop neckline of the tank top.
Time to Pin the Side Seams
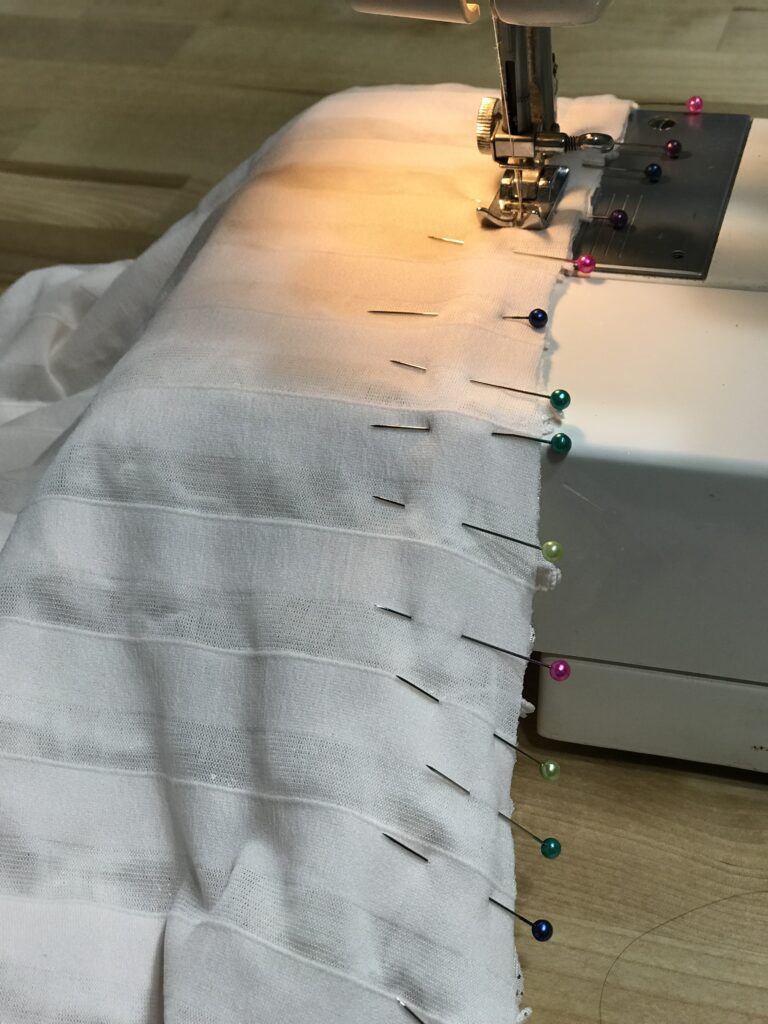
Placing my fabric right sides together, I made sure to smooth out the ruffles as I pinned so they laid correctly.
Starting under the arm, I pinned down both sides of the dress.
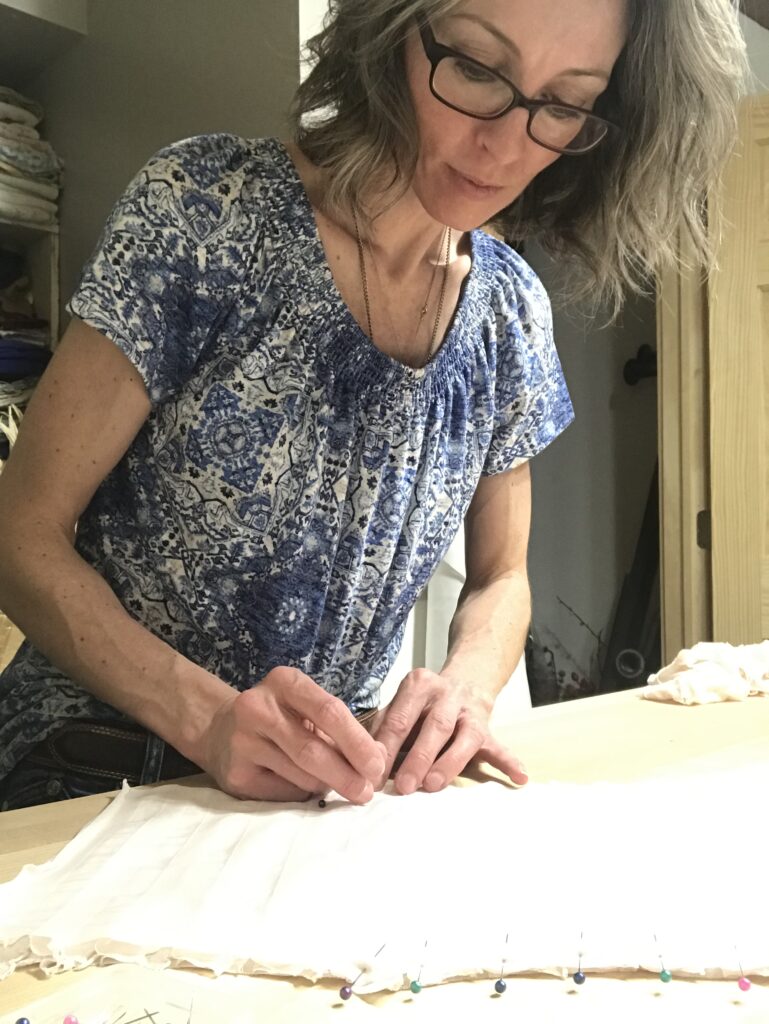
Pin right sides of fabric together 
Smooth out the ruffles as you pin
Let’s Sew Some Dress Side Seams
I sewed the side seams with a 5/8″ seam allowance starting under the arm to the bottom of the dress.
Now We’ll Finish the Arm Holes
The arm holes of this dress were made at the top of the side seams where the tank top, that we used for a cutting guide, arm holes were. I folded the fabric of both the front and back pieces at 1/2″ and then folded it again at 1/2″. I pinned it and the stitched it.
Do this to both arm holes.
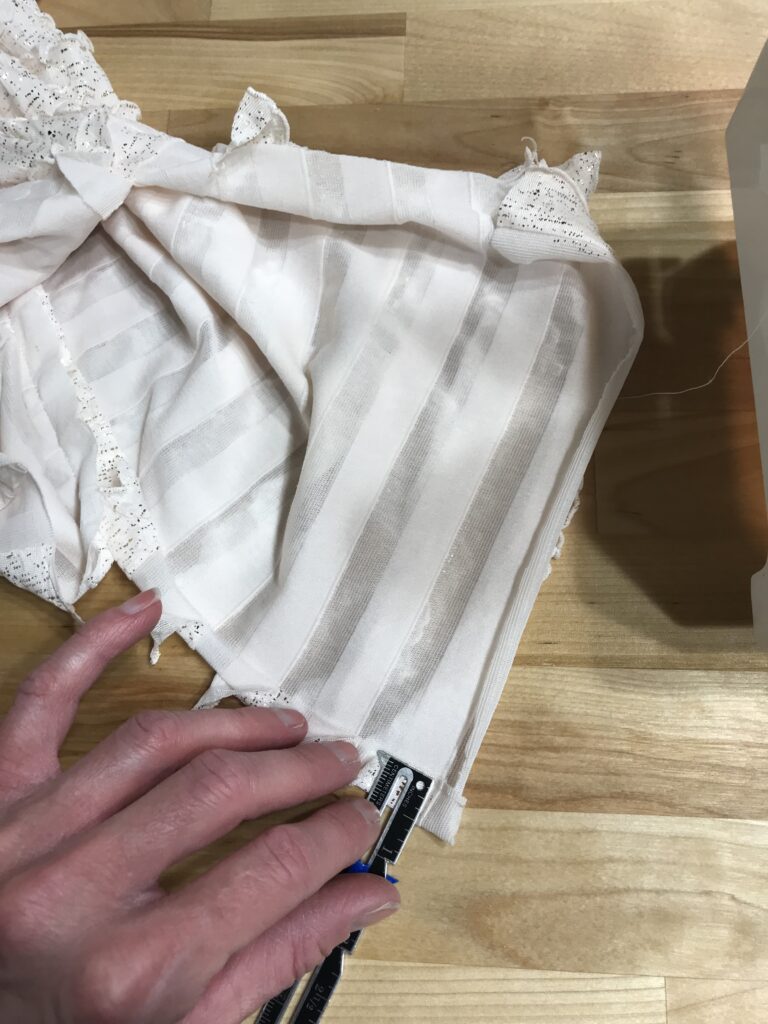
Measure the arm hole seam allowance 
Pin the arm hole seams
When you are stitching the arm holes, it’s best to stitch on the right side of the fabric with the ruffles facing down to prevent bunching of the ruffles.

Time to finish the neckline
Folding and pinning both front and back necklines at 1″, I stitched a straight stitch along the bottom to create a channel.

I put a safety pin through the end of the piece of fabric I wanted to use for the tie and ran the fabric through both the front and back channels.
Then I hemmed the bottom of the dress.

This Easy No Pattern Toddler Dress is Finished!!
No pattern and 2 hours later, my daughter had an amazing dress. It was PERFECT for her.

