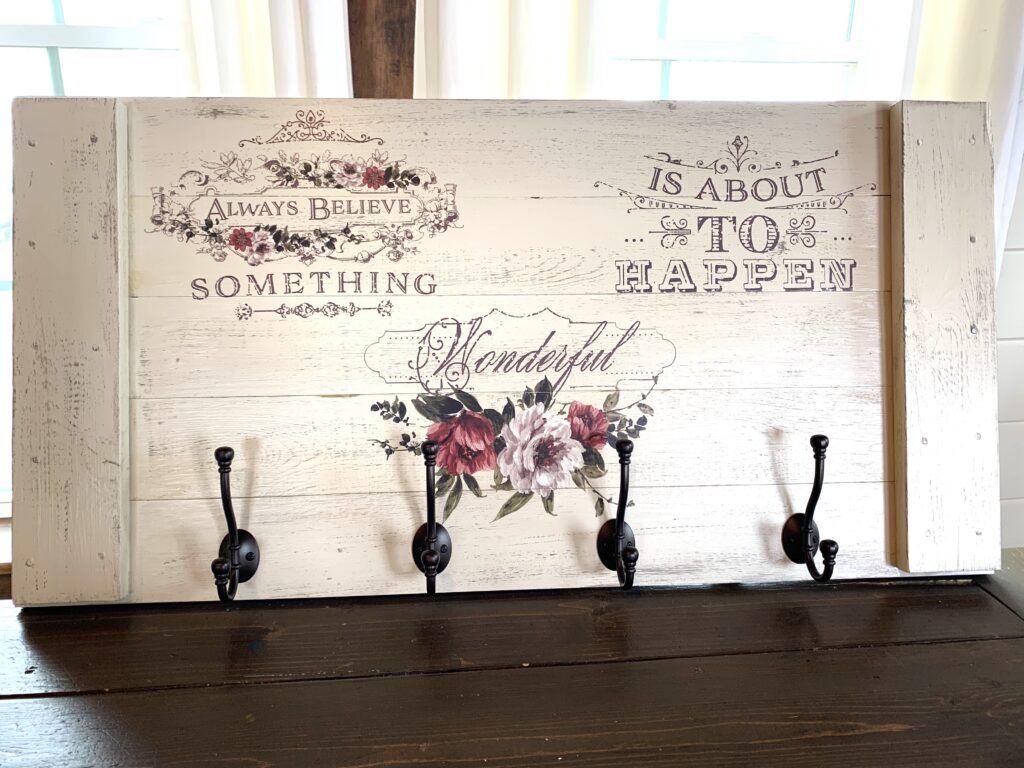
This easy DIY Farmhouse Coat Rack was really fun to make and I just LOVE how it turned out!

Let’s get started!
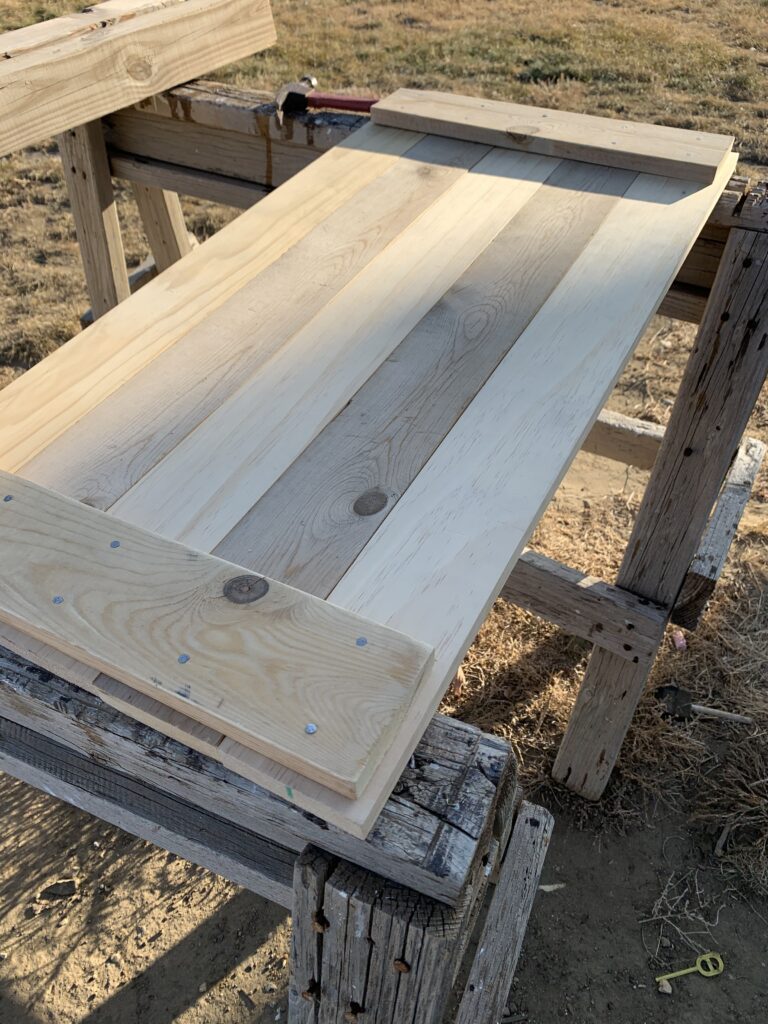
I began this project by cutting 1×4″ wood to the length I wanted. I then laid them out and cut 2 end pieces that I nailed across the boards on each end to hold them together.

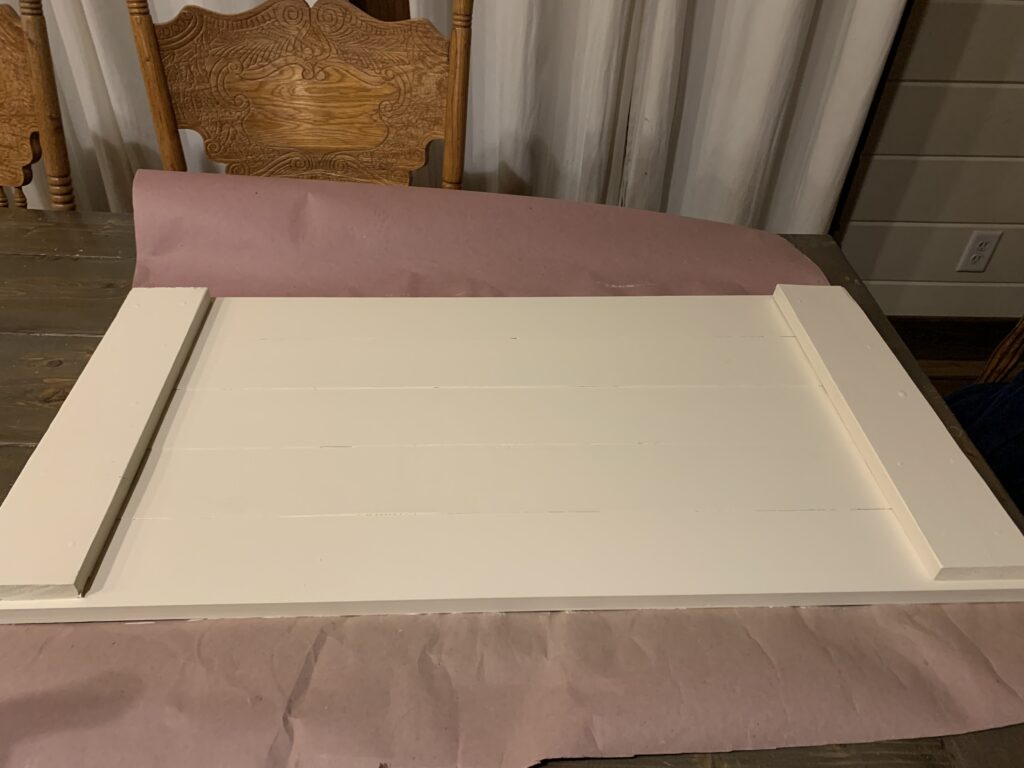
Time for PAINT!!
Paint is one of my favorite things. Really. Kind of like I’m borderline obsessed with great paint. LOL.
This project I primed with Kilz Primer and then coated it with Sherwin Williams Antique White in Cashmere Low Luster finish. I also did a light distressing to give it that farmhouse style that you can learn how to do here.
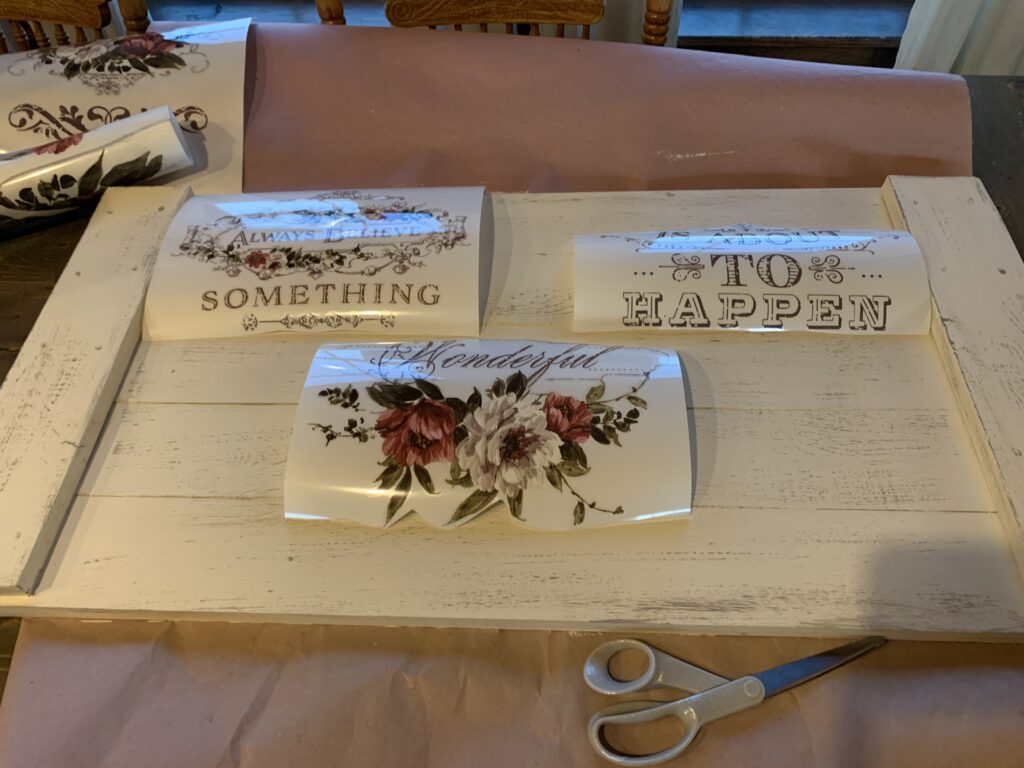
Now for the SUPER FUN PART- Transfers!!
Transfers are also on my list of favorite things! They make it so easy for EVERYONE to make beautiful things. These transfers are ReDesign With Prima and I really love them. This transfer is a Decor Transfer called “Hopeful Wishes.” I cut it apart and then laid out the pieces I wanted to use to decide their placement before putting them on.
After deciding the placement, I slowly pulled off the back of the transfer and placed it on my wood.
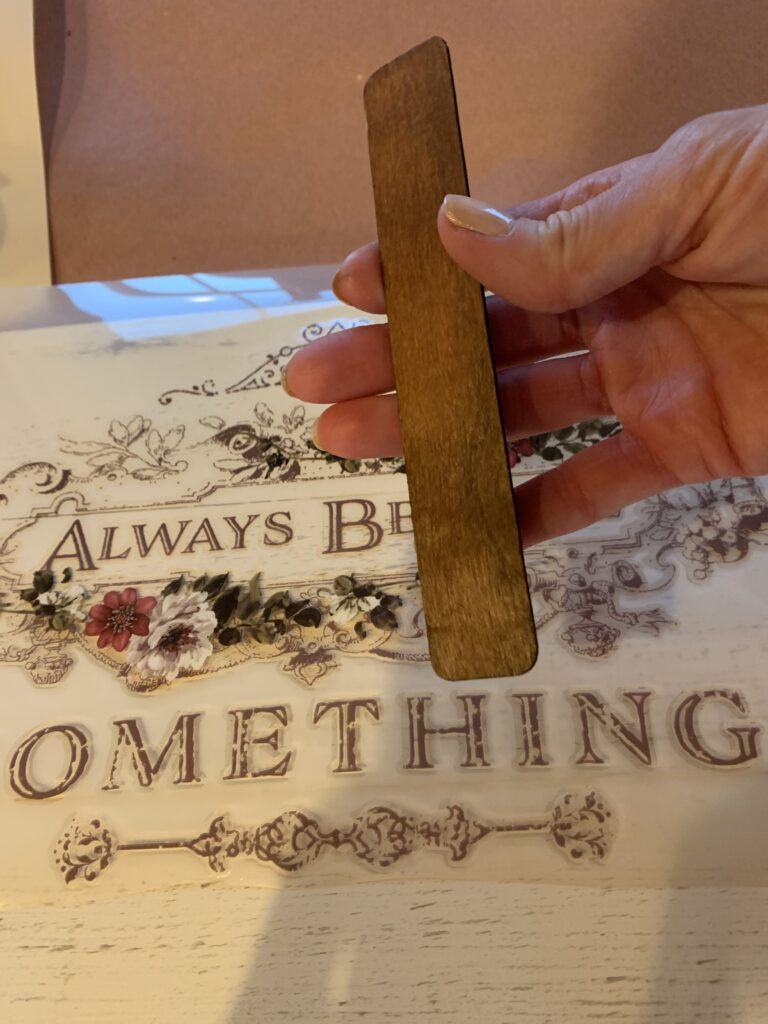
ReDesign With Prima Tool 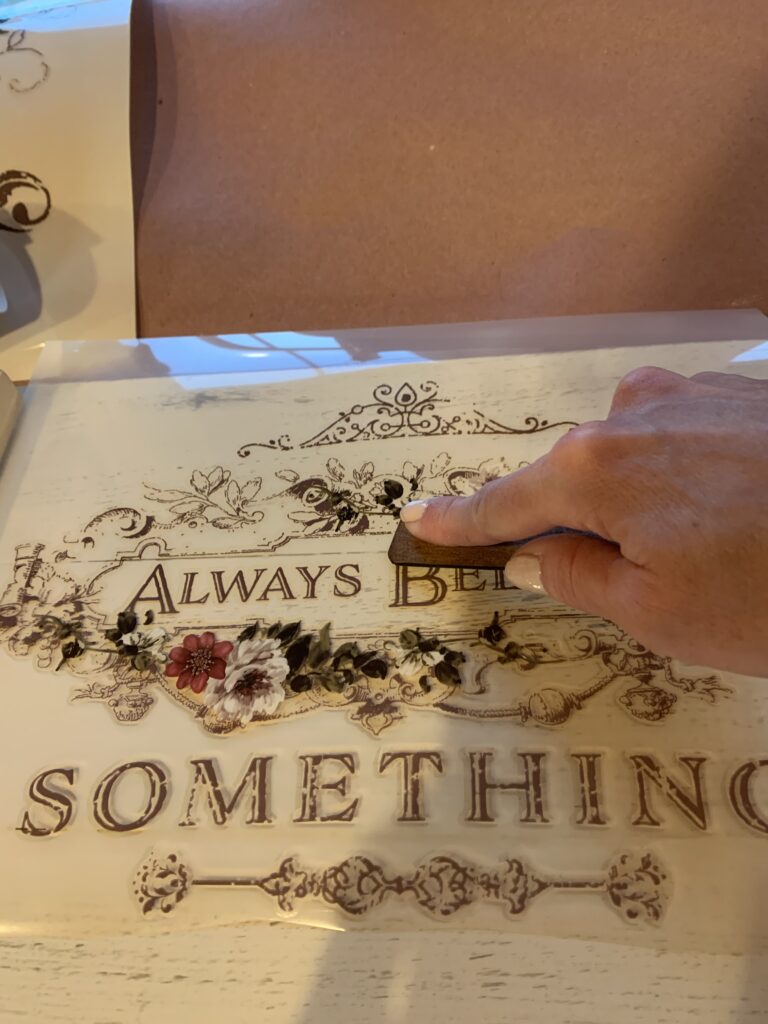
Make sure there are no air bubbles
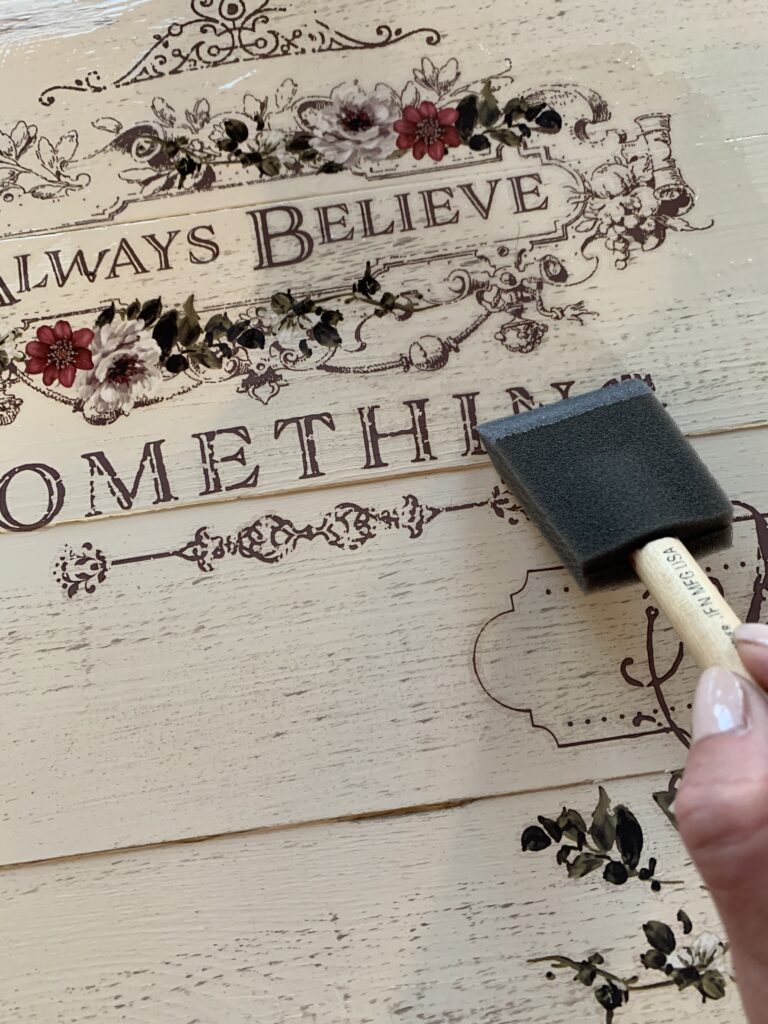
Time to Seal it!
To seal the transfer and protect the paint, I used a sponge brush to apply Minwax Polycrylic in Matte finish over the whole coat rack. I focused on the seams of the transfer to make sure they were solidly on there.
The final touches on this coat rack were attaching the coat hooks on the front and the wall hanging attachments on the back.
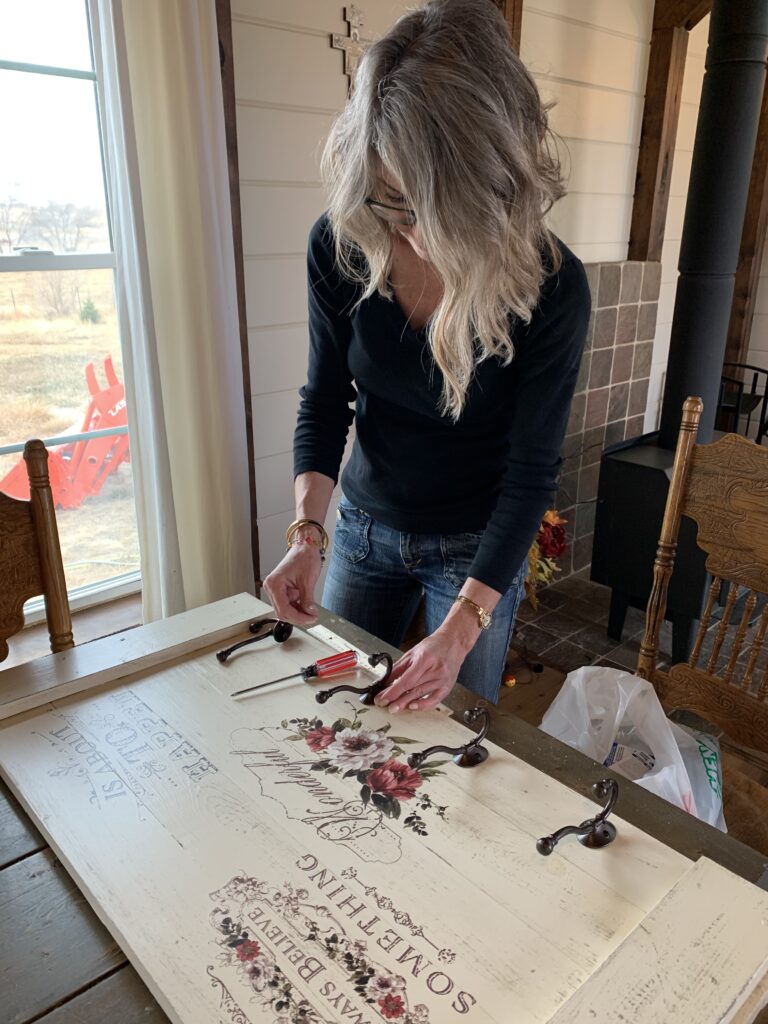
Placing coat hooks 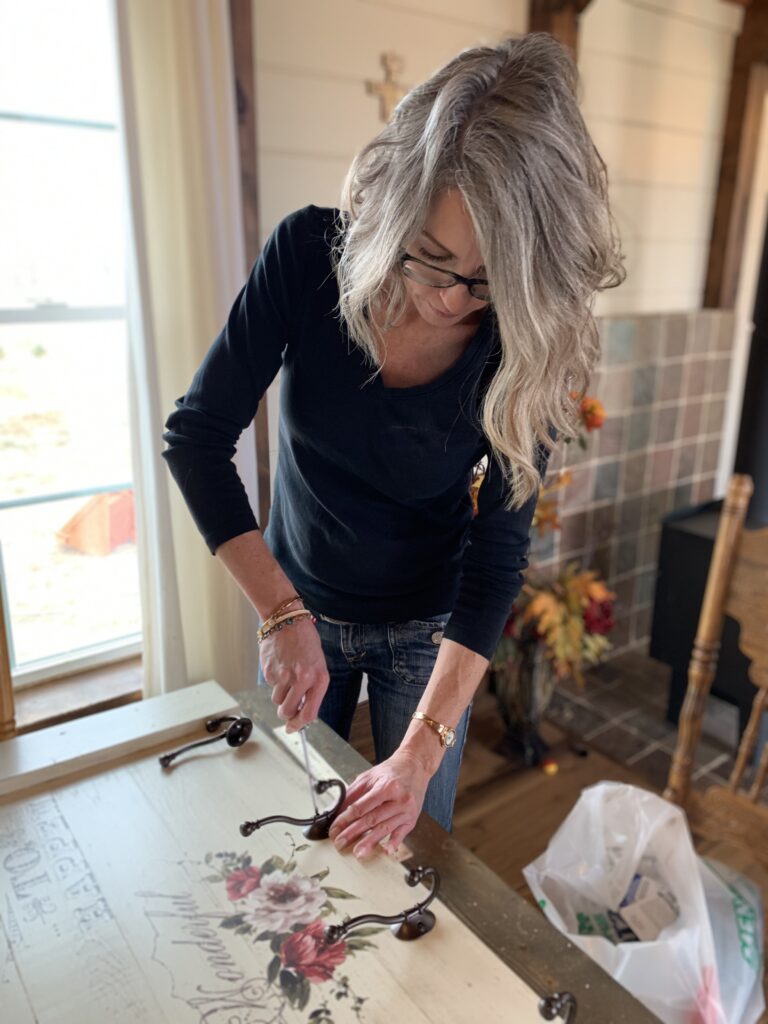
Attaching coat hooks
This Easy DIY Farmhouse Coat Rack is finished and I am LOVING IT!!