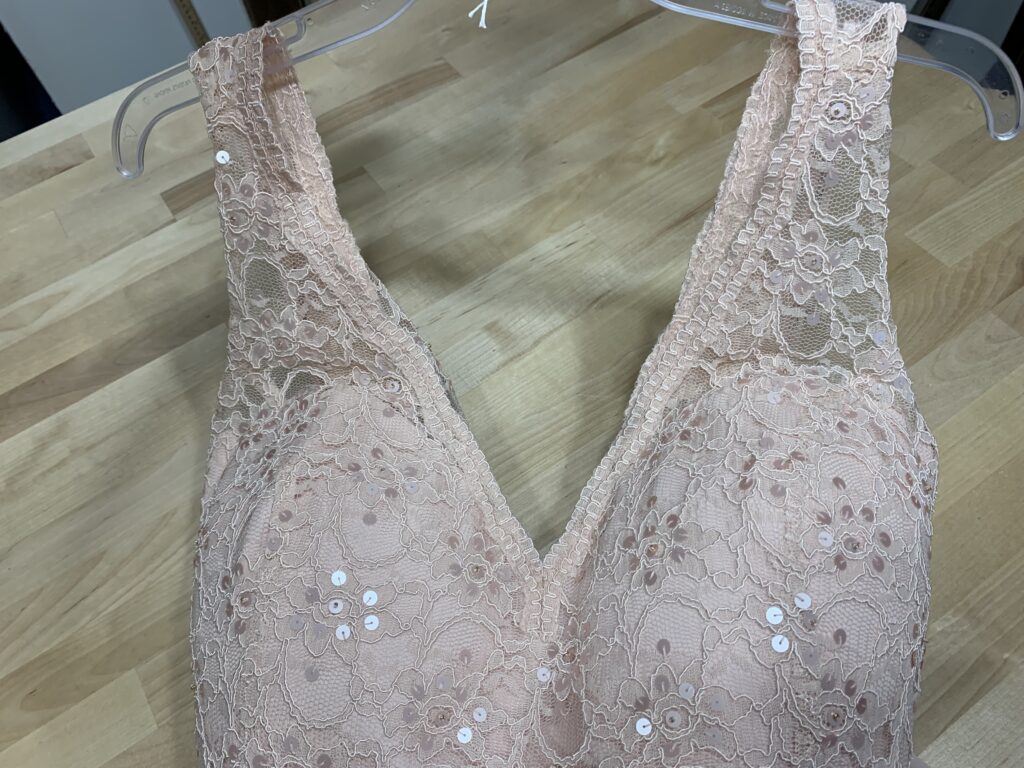
Wedding dress alterations can be tricky at times, but this one was much easier than one might think when first looking at the fabric. It goes pretty easy. Just remember to take your time and work carefully so you don’t catch the fabric with your seam ripper.
It’s very important to note exactly what the piece looks like so you can take it apart and put it back together with the appearance that it hasn’t been altered. I always start and finish one strap at a time so I have the other one for reference.

Let’s dig in to this wedding dress alteration!
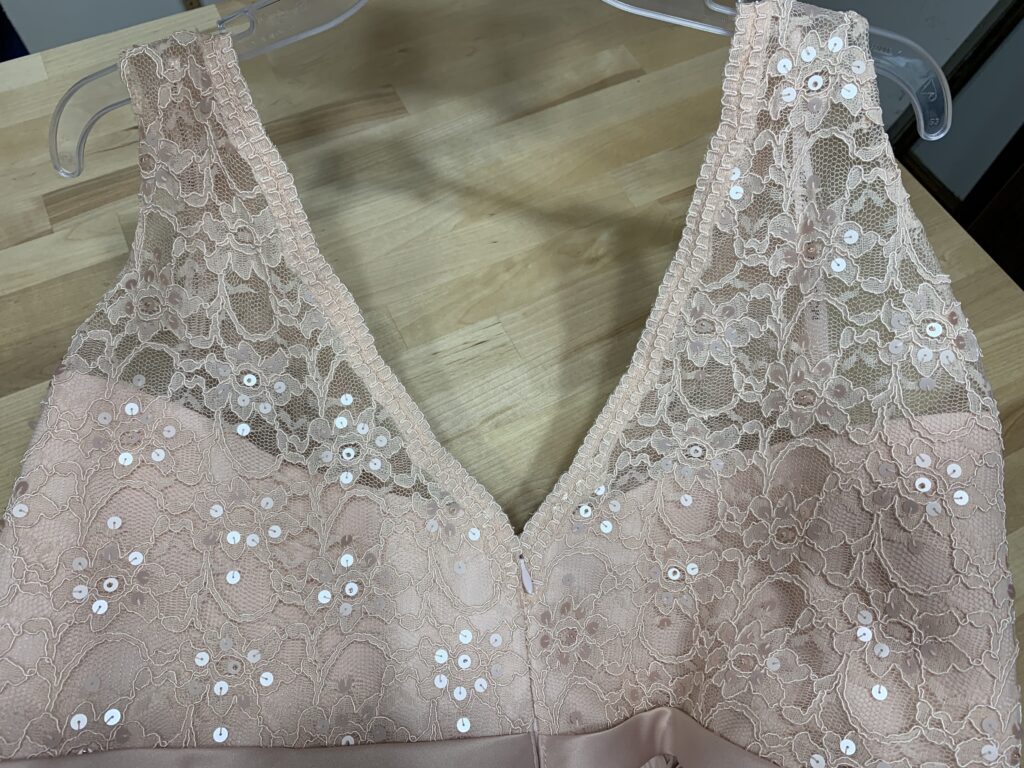
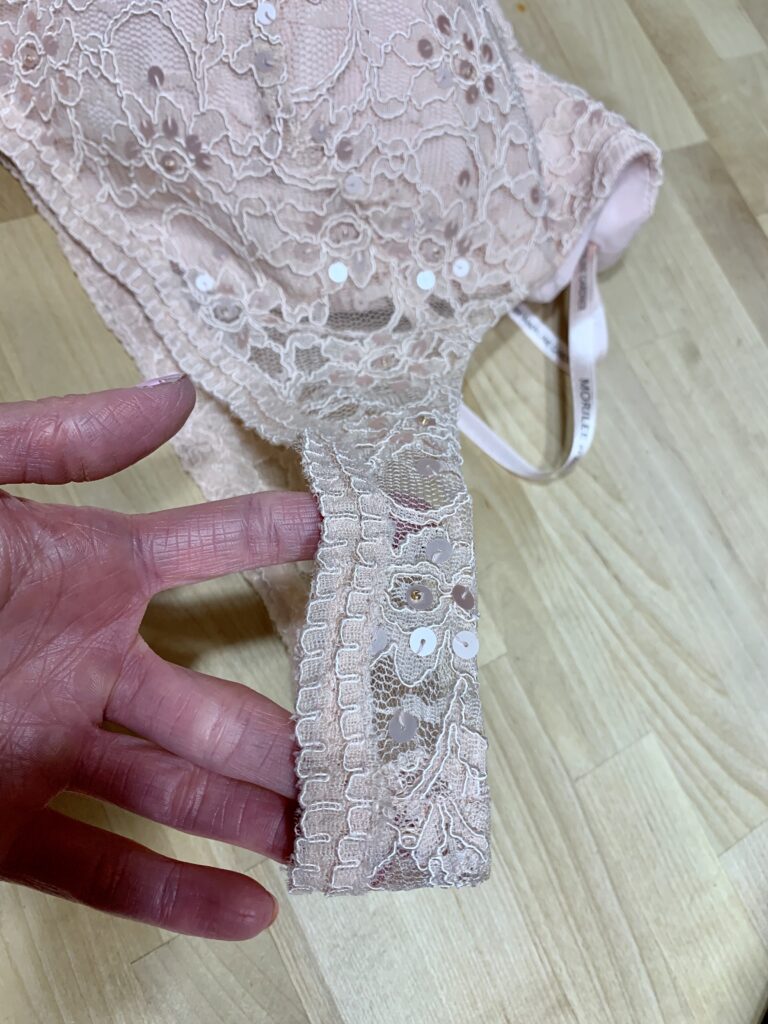
I began this alteration by removing the trim from the strap with a seam ripper. I removed it from the top shoulder seam all the way down the back of the dress to the zipper. The trim was one continuous piece so it needed to be taken off all the way to the bottom. It needed to be cut and put back on at the end of the alteration.

I then opened up the shoulder seam with my seam ripper.
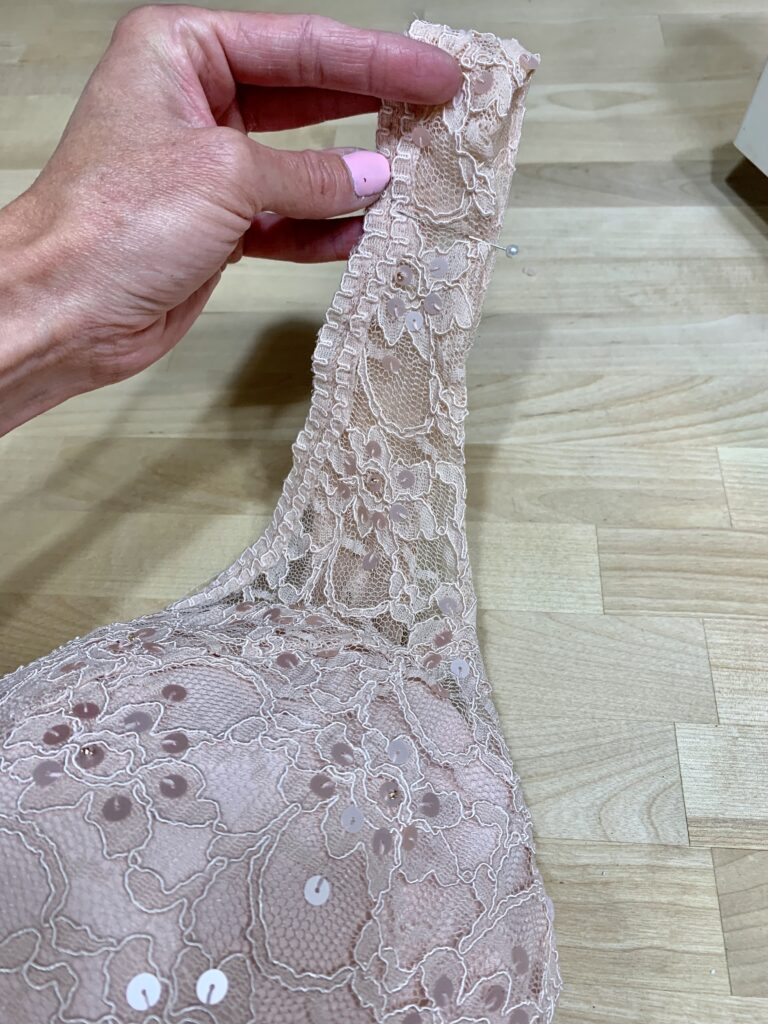
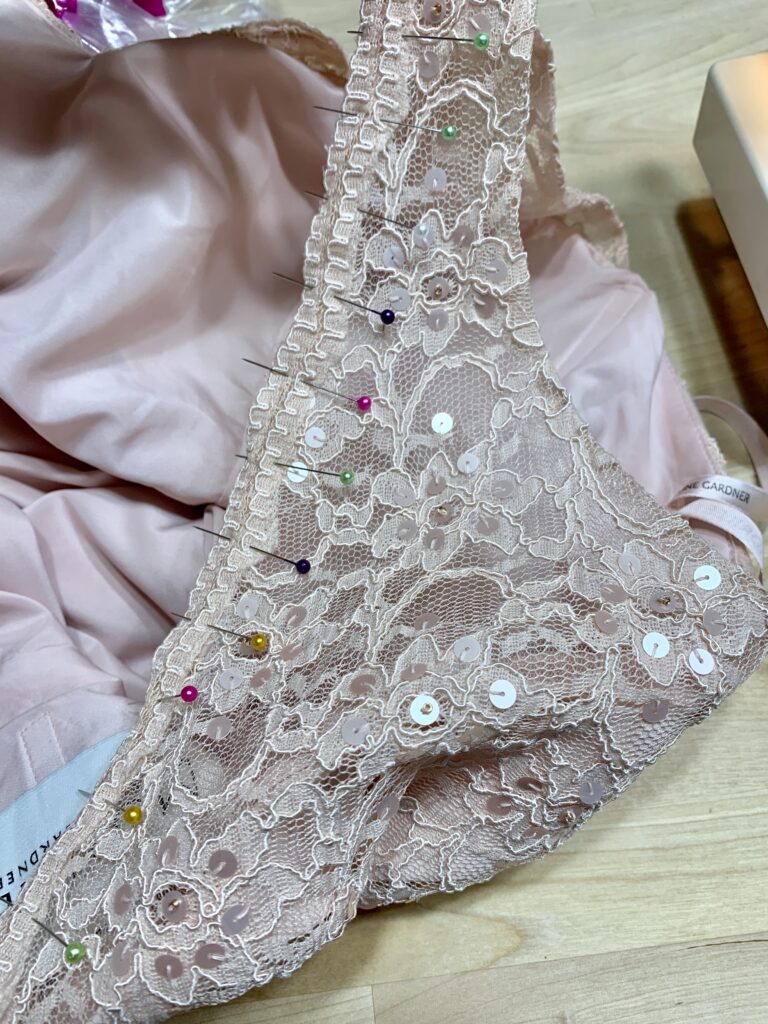
I seam ripped both sides of the strap separating the lace from the tulle lining. These shoulder straps needed 2 2/8″ taken out, so I seam ripped 2 3/4″ from each side of the shoulder seam on both sides of the strap.
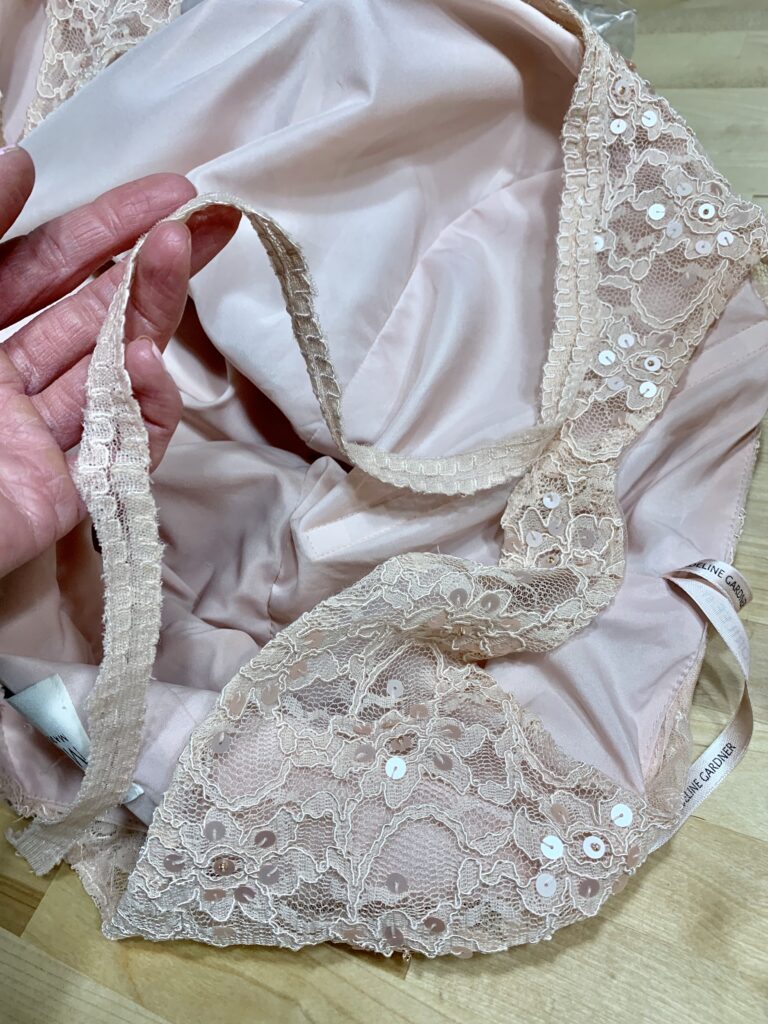
Then I sewed a seam 2 2/8″ from the original seam on both the lace and the tulle and then cut off the excess fabric. I left 1/2″ of fabric for the seam allowance. I made sure that I sewed the lace right sides together and the tulle right sides together. When I put the strap back together, both seam allowances were on the inside of the strap.
Let’s put this strap back together!
Laying the seam allowances open and flat, I lined up the seams on the lace and the tulle.
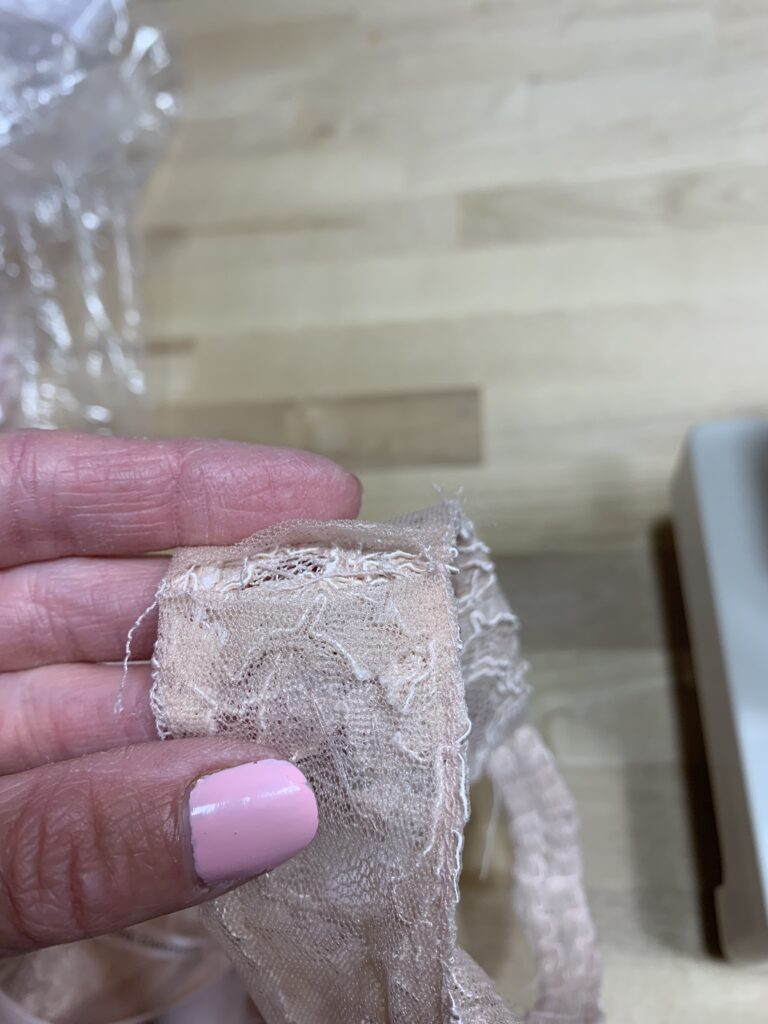
I stitched the tulle and the lace back together on the inside of one side (the side that won’t have the trim) and then turned the strap closed with wrong sides together (right sides out for the tulle and the lace.) I pinned the fabric so the seam that was just put in laid flat.
On the other side of the strap, I tucked under the edges for the seam allowance, pinned, and topstitched that side of the strap. I made sure to topstitch the side of the strap that the trim was on so the trim would cover the topstitching.


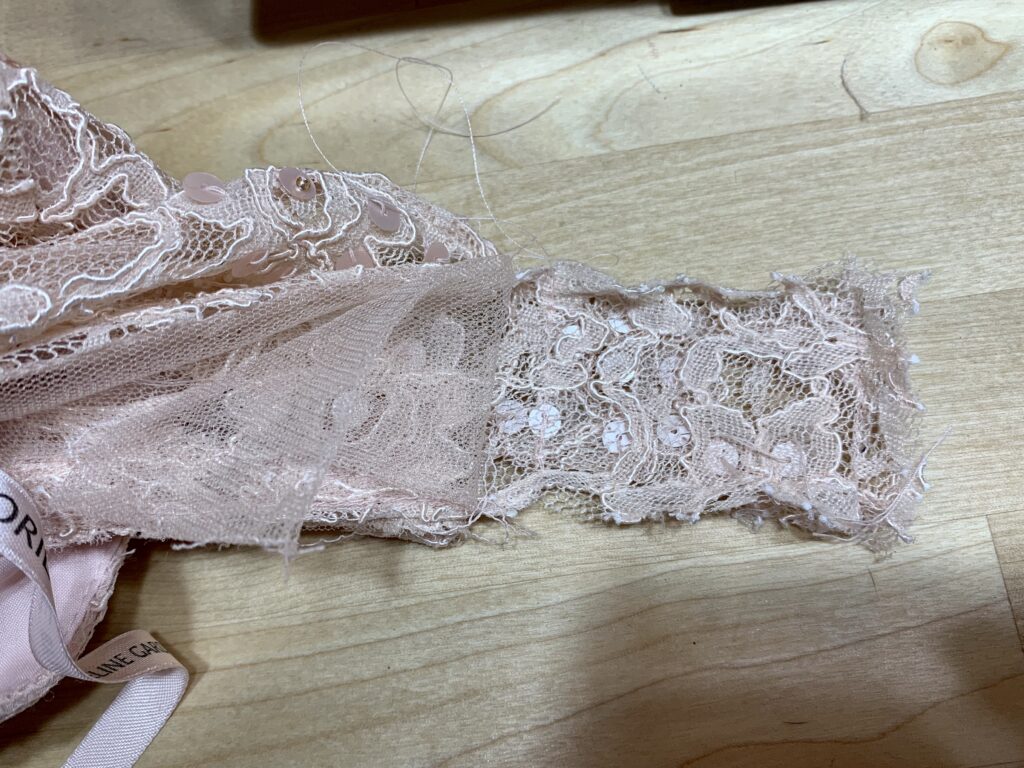
I stitched the trim back on the dress from the shoulder seam all the way down the back and clipped it at the zipper. Take care to ensure that the trim meets and lines up with the other side when the zipper is closed.
pinning and stitching the trim 
Finished trim
It is finished! A beautiful dress for a beautiful bride!