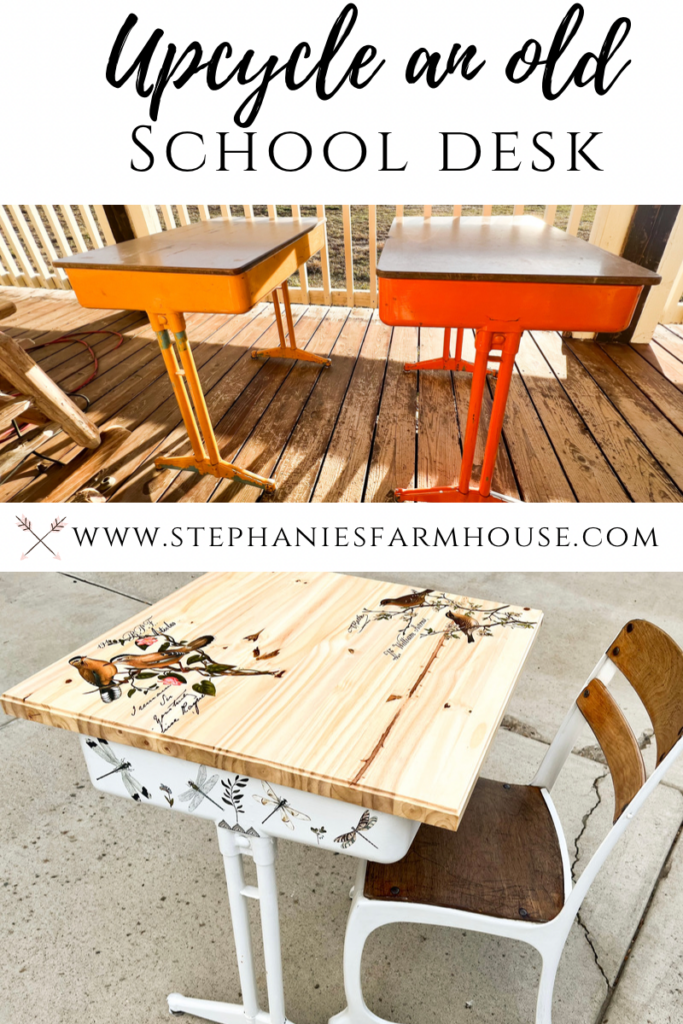
Those of you that know me, know that I LOVE finding old things and giving them new life. I’m always out and about looking for the next hidden treasure. When I saw these old metal school desks I was IN LOVE with the possibilities. First of all, they are reminiscent of my childhood grade school days. There’s a nostalgia for me thinking back on the different colors of desks spread throughout the room. I knew right away I had to have them. I was going to upcycle an old metal school desk!
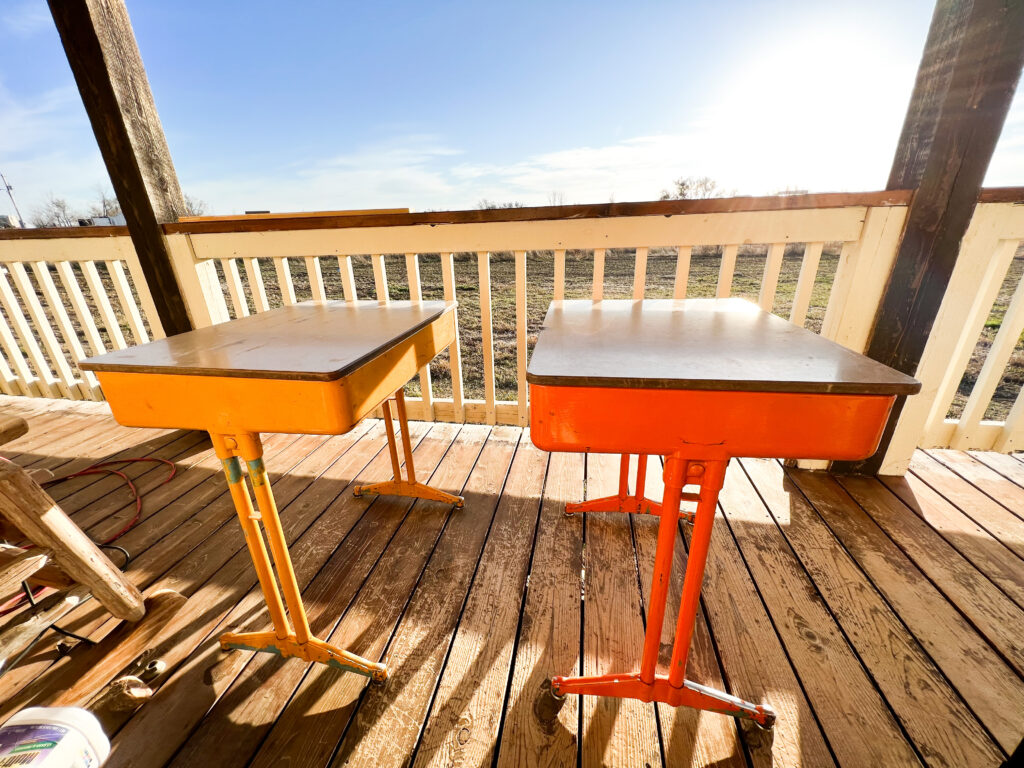
A New Desk Top For this Old Metal School Desk
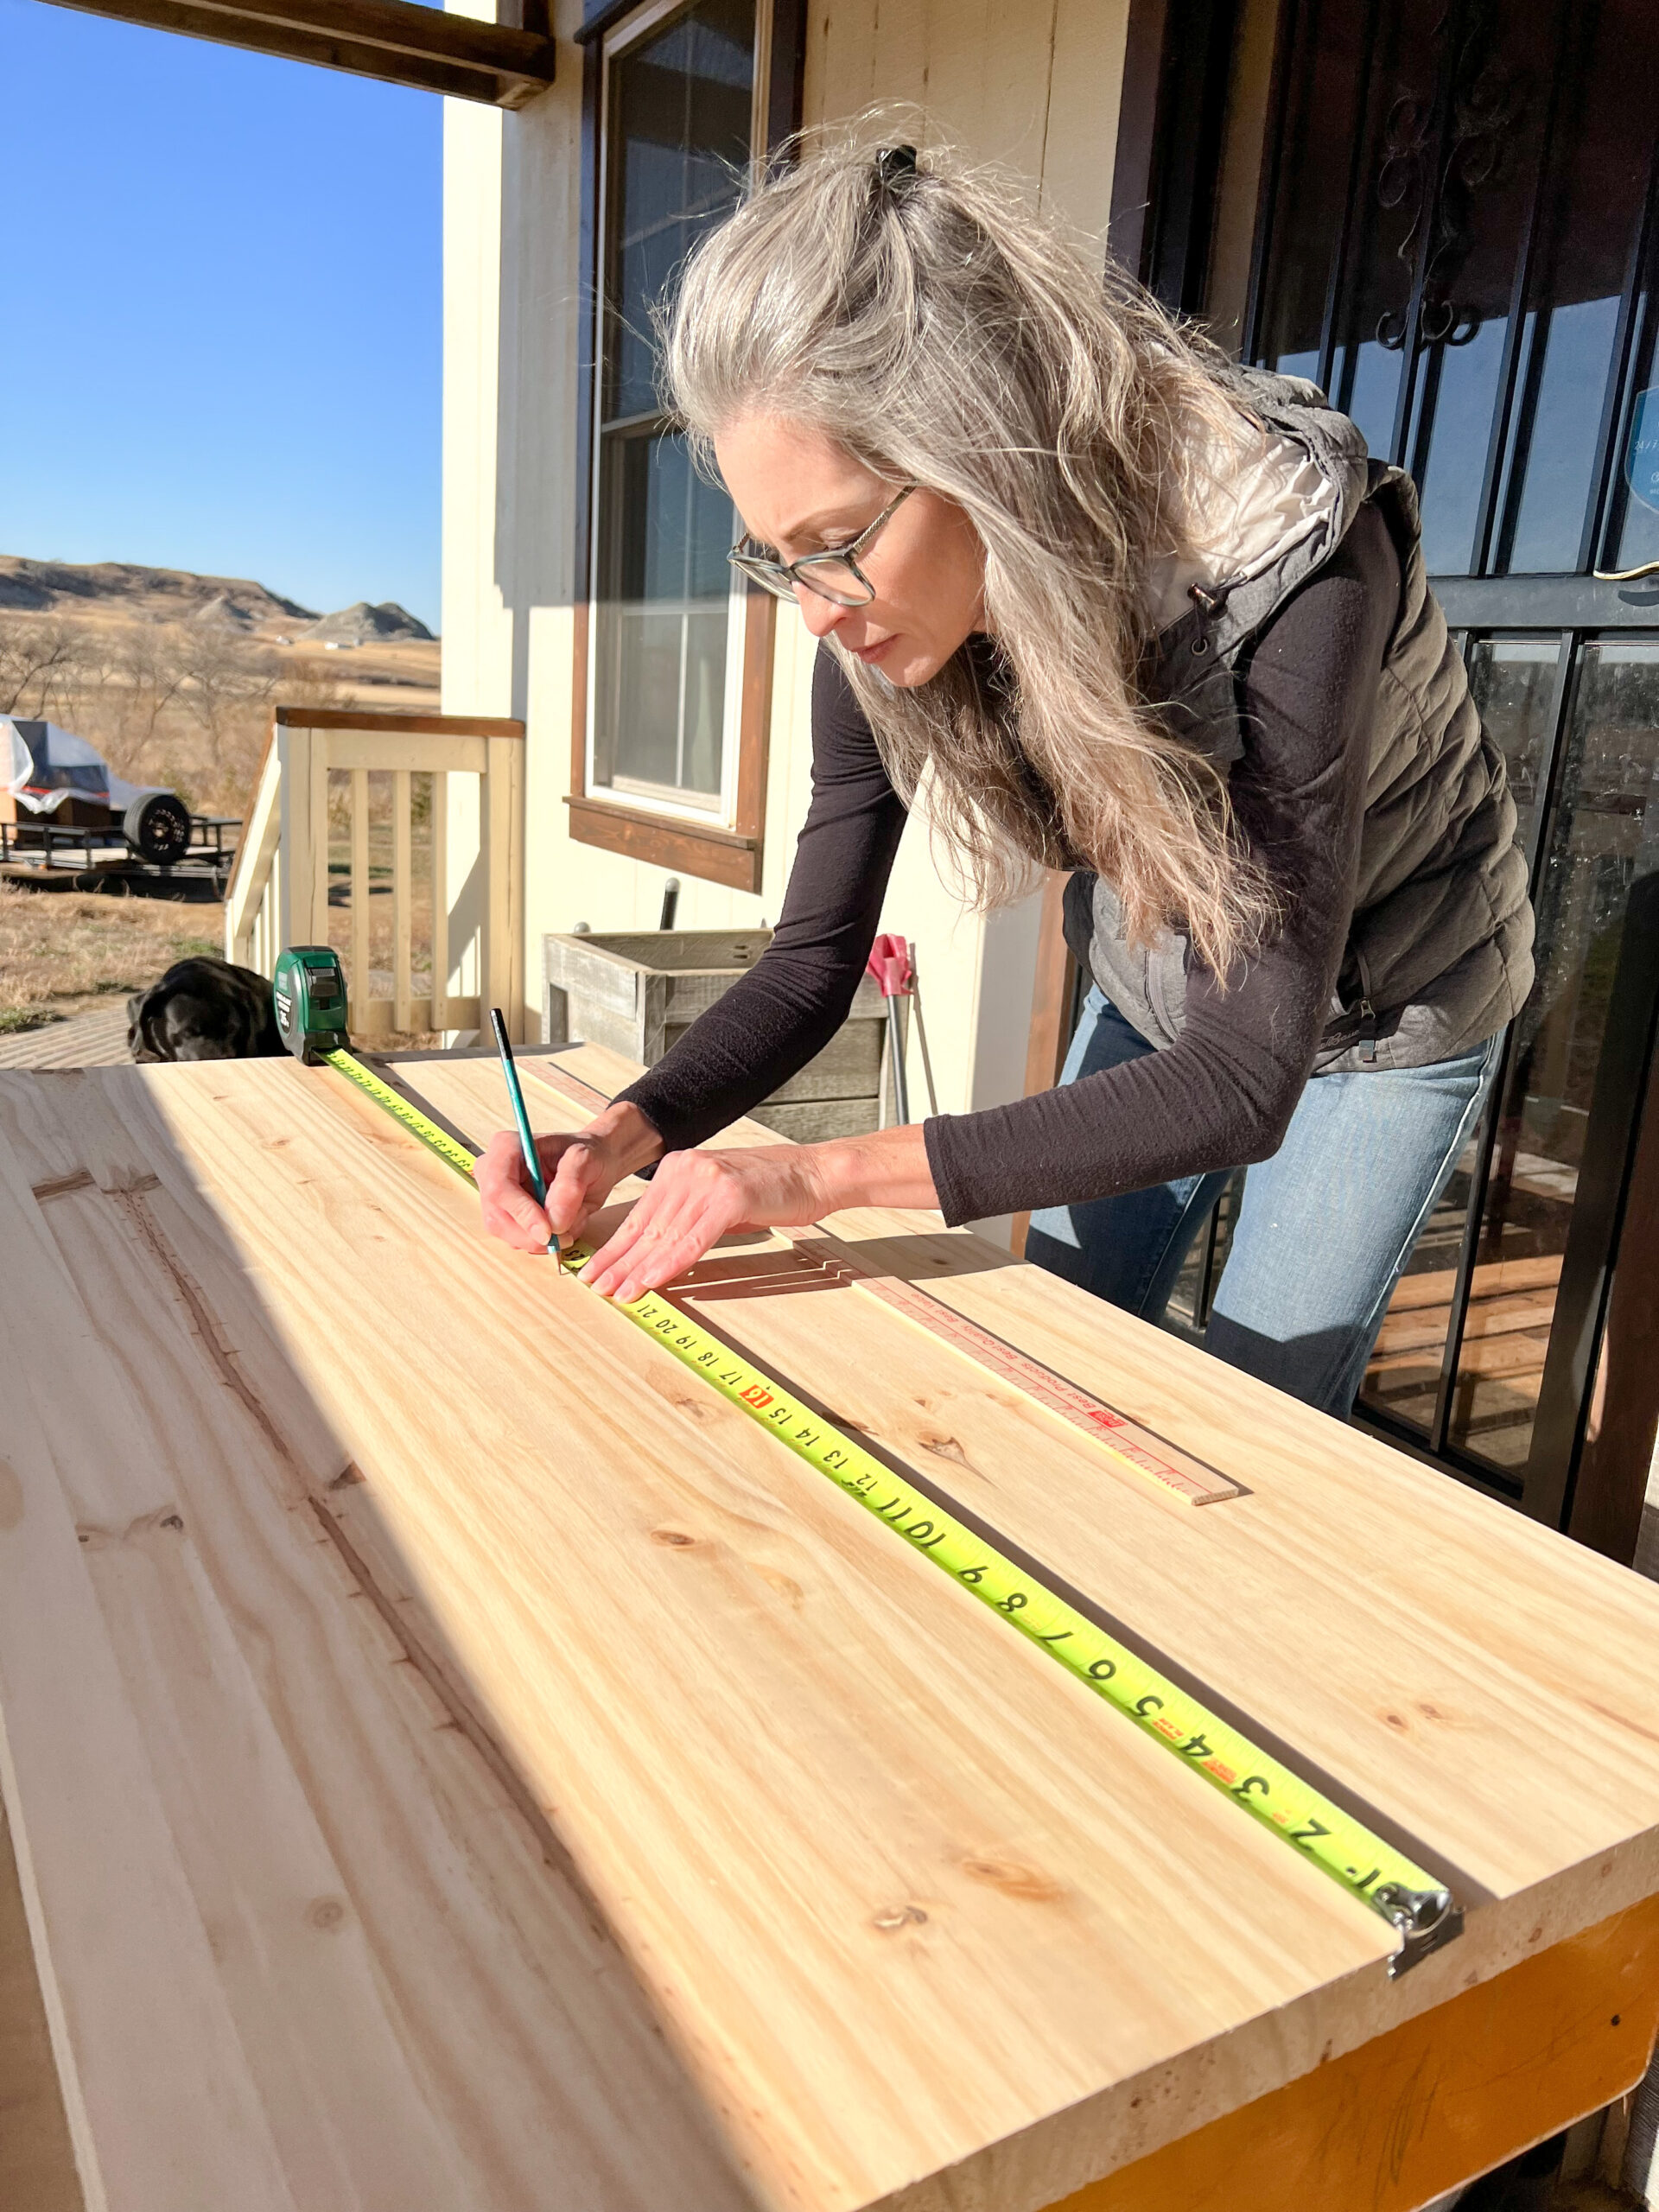
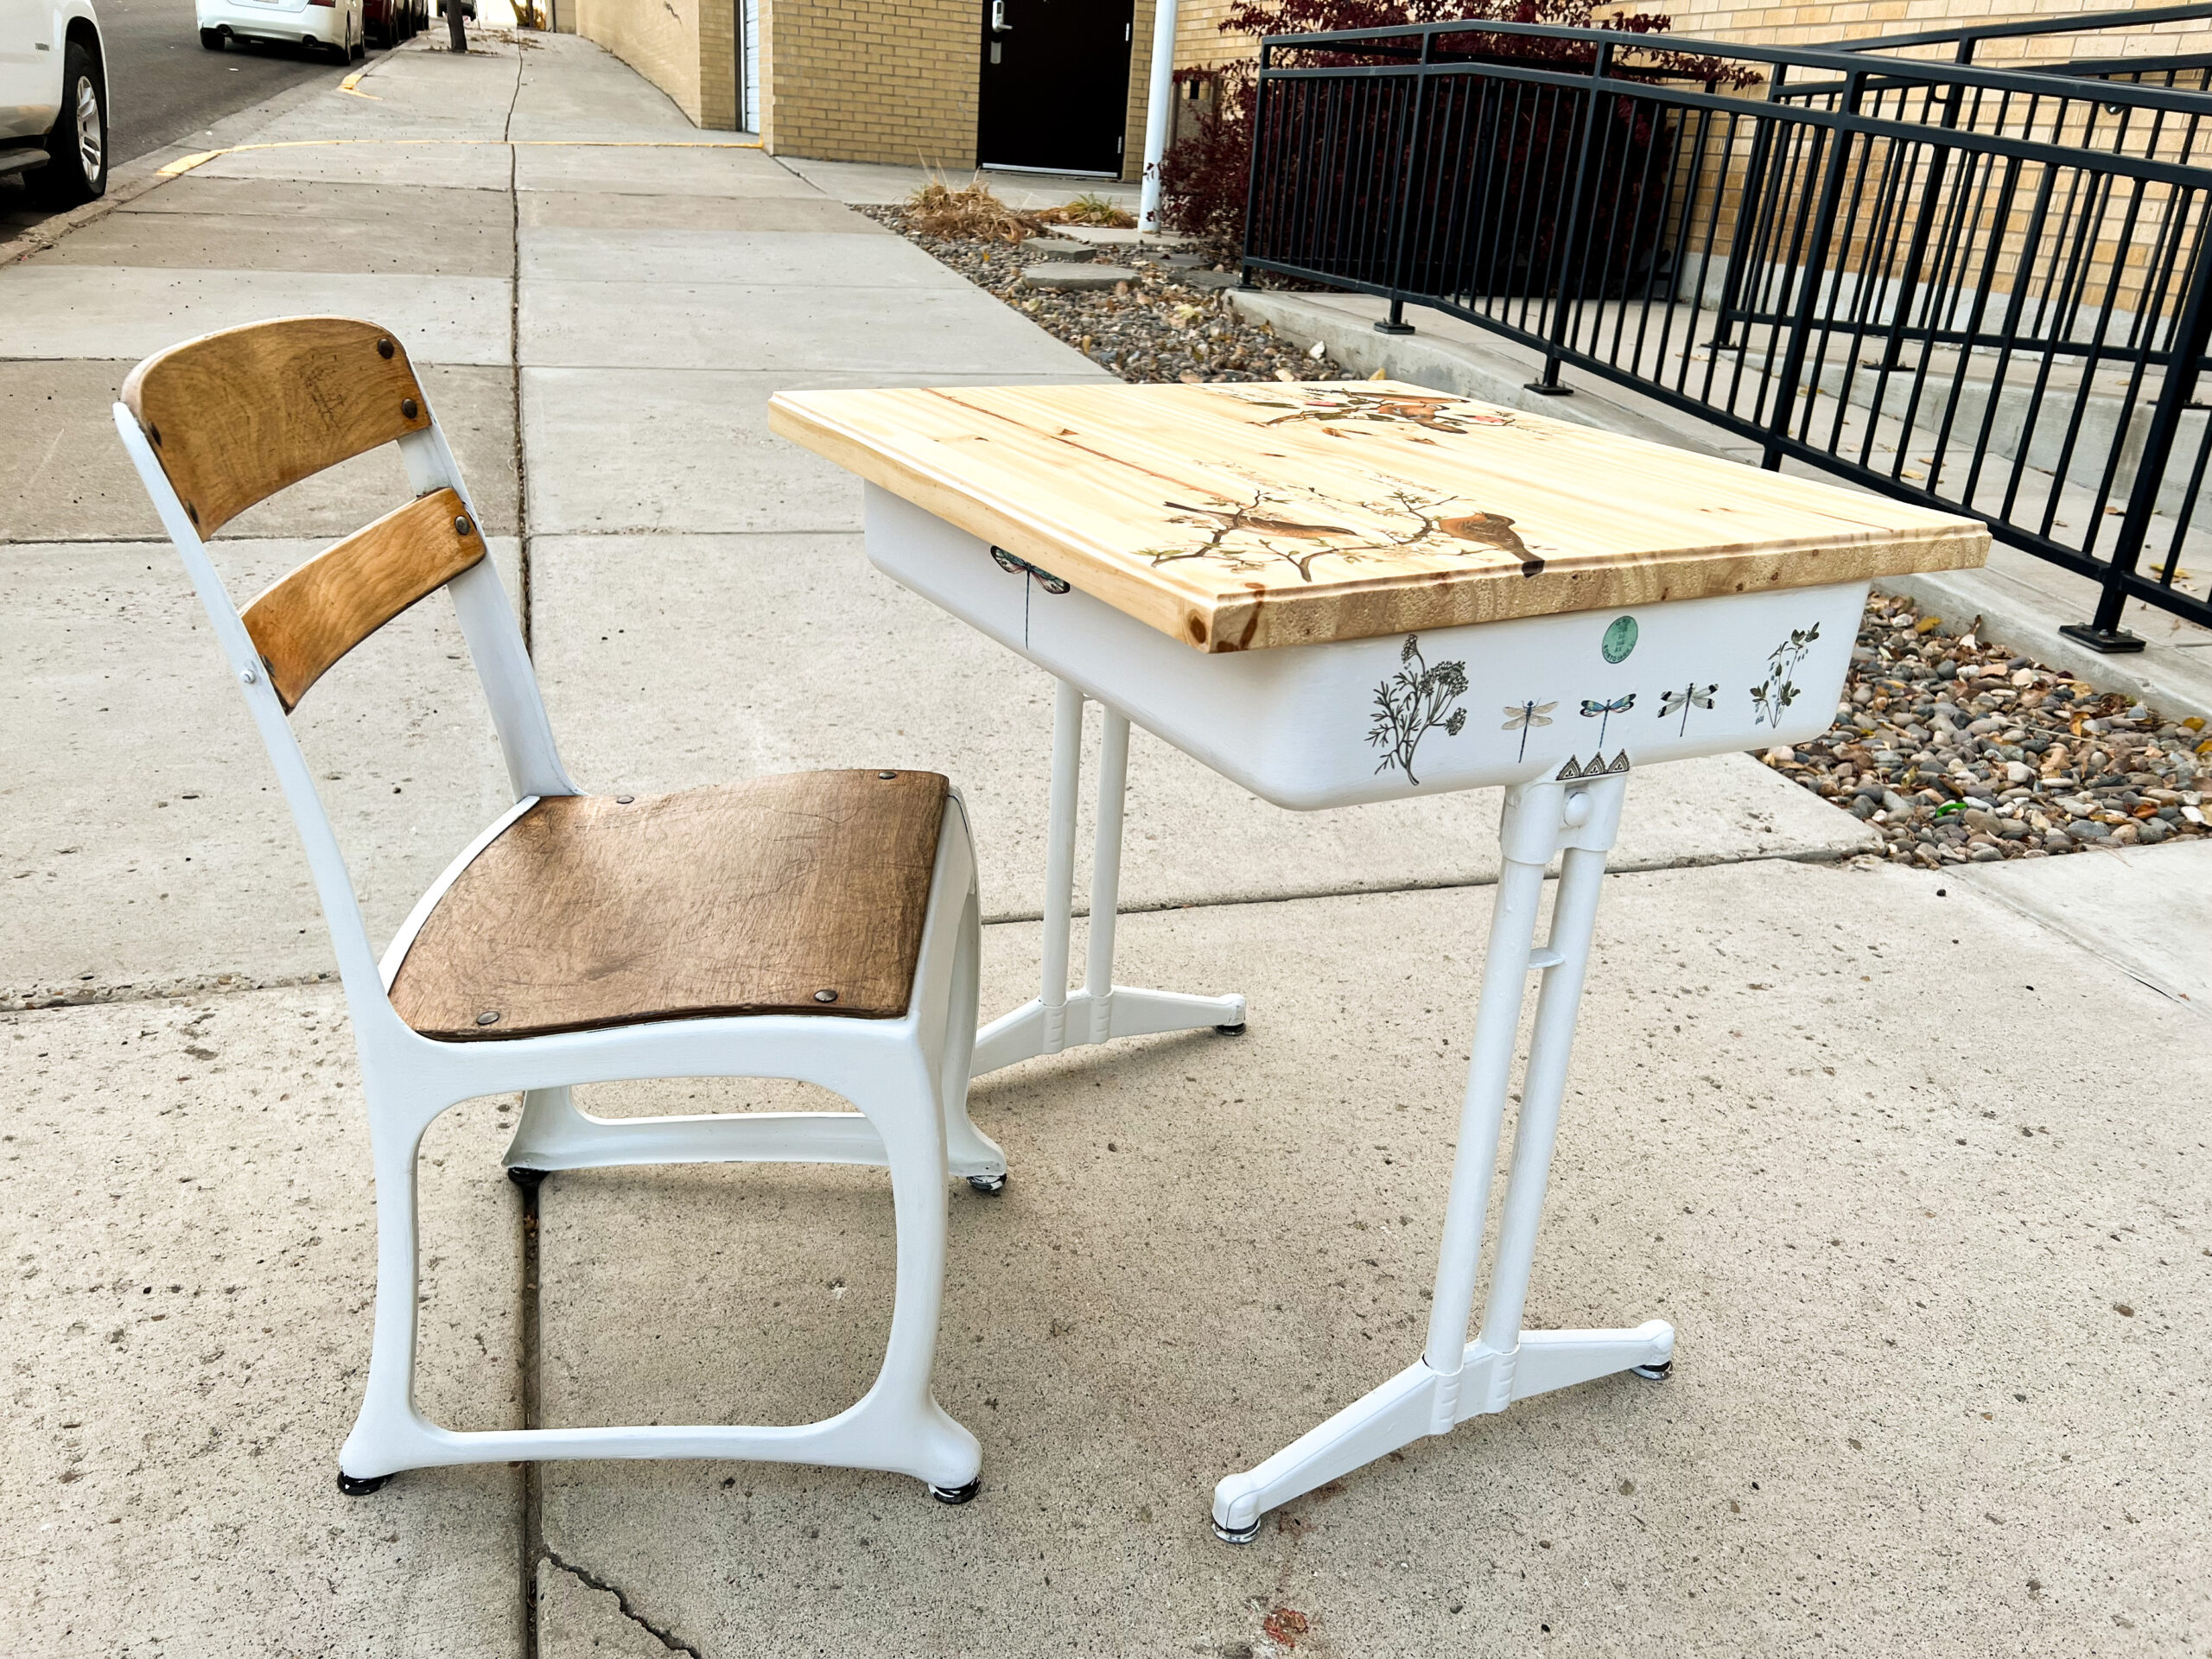
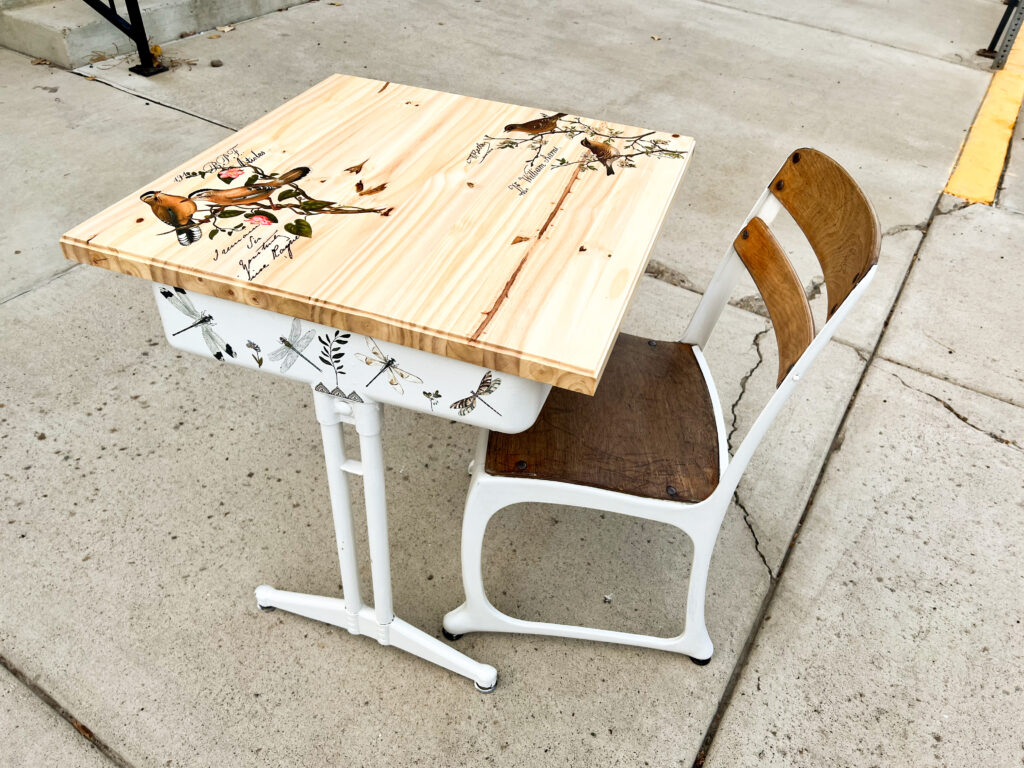
The first thing I did to upcycle this old metal school desk was make a new desk top. The old top was heavy, I wasn’t fond of the material it was made of, and I have memories of smashed fingers from those particular tops. I needed to replace it. I wanted a rustic butcher block looking top so I opted for an edge glued pine piece of wood from my local Menards. I chose pine over the other wood species because I wanted that laid back, rustic look. I also really liked the knots on this particular piece. I bought a piece big enough for two tops and cut it in half with a circular saw.

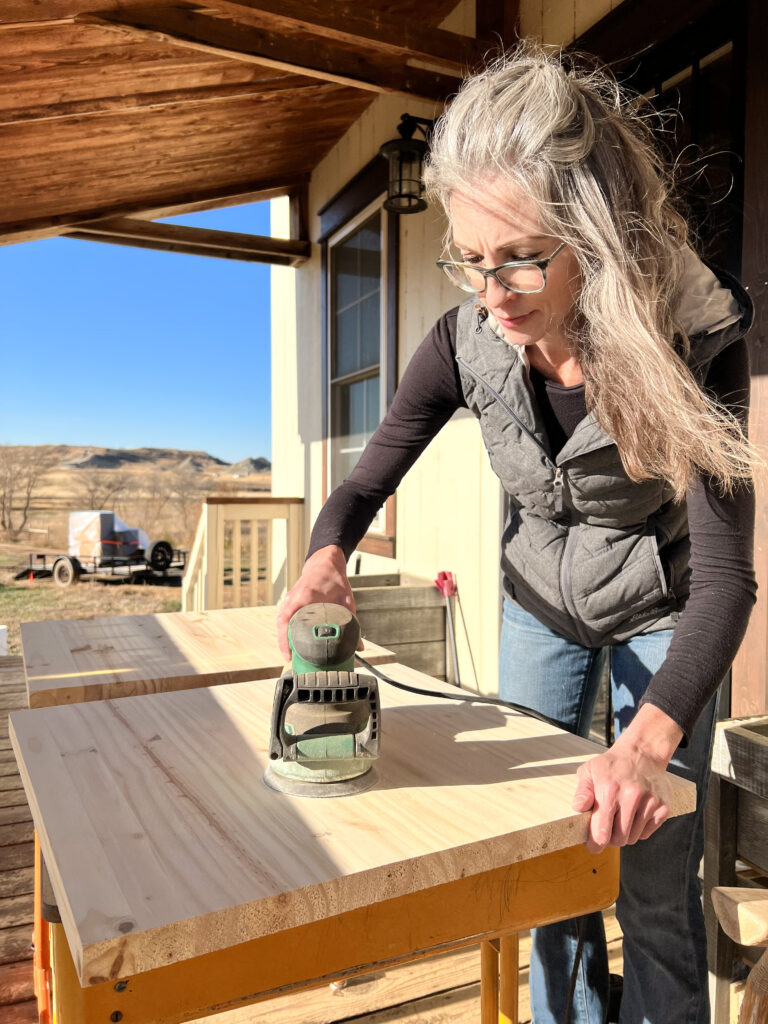
I then sanded it with 220 grit sand paper to smooth it out.
I decided to router the edges because I wanted that kind of refined edge with the rustic feel of the wood. After routering, I very lightly ran 220 grit sandpaper over the edge to smooth out any rough areas.
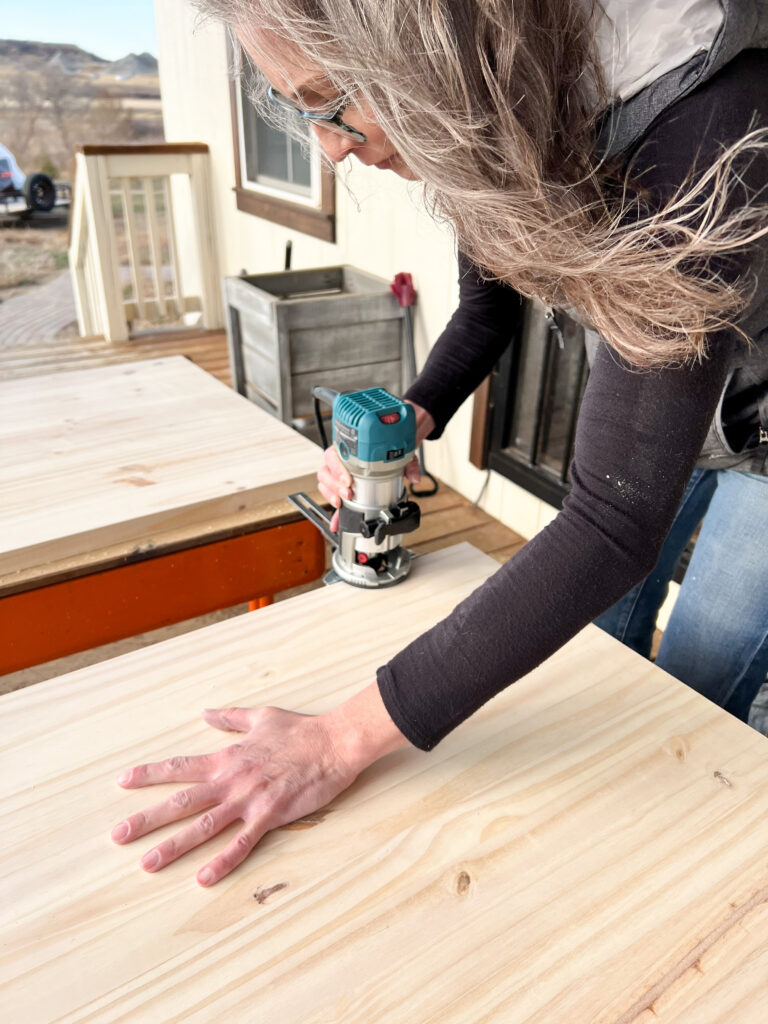
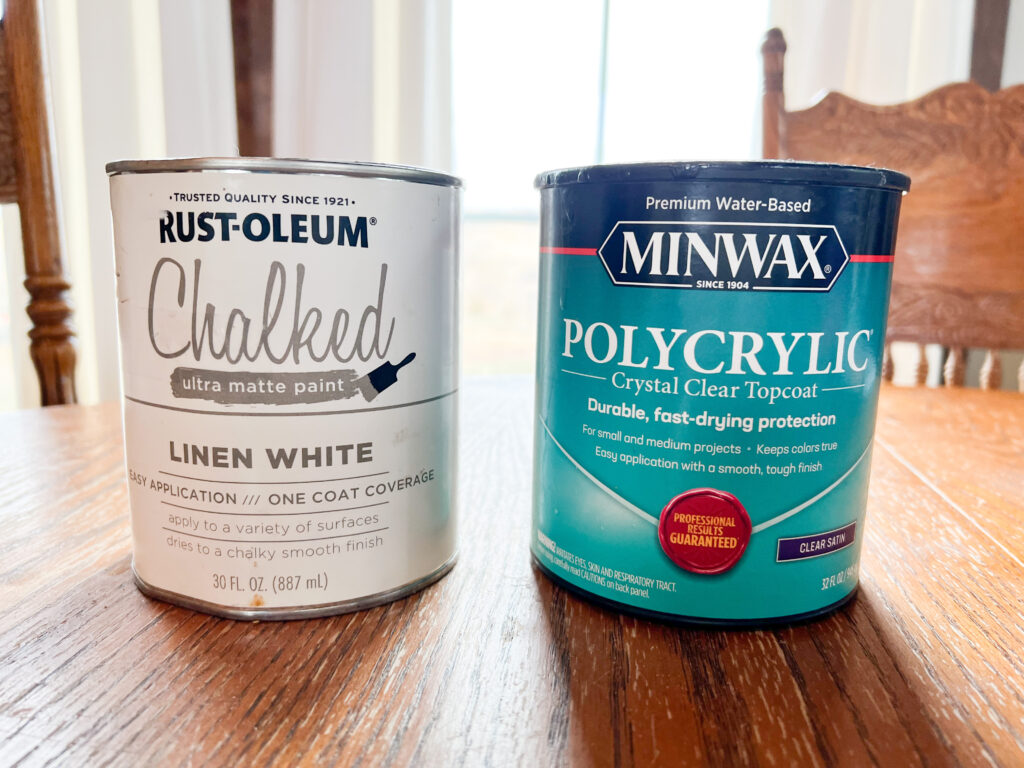
I applied a coat of MinWax Polycrylic to the top to complete this part.
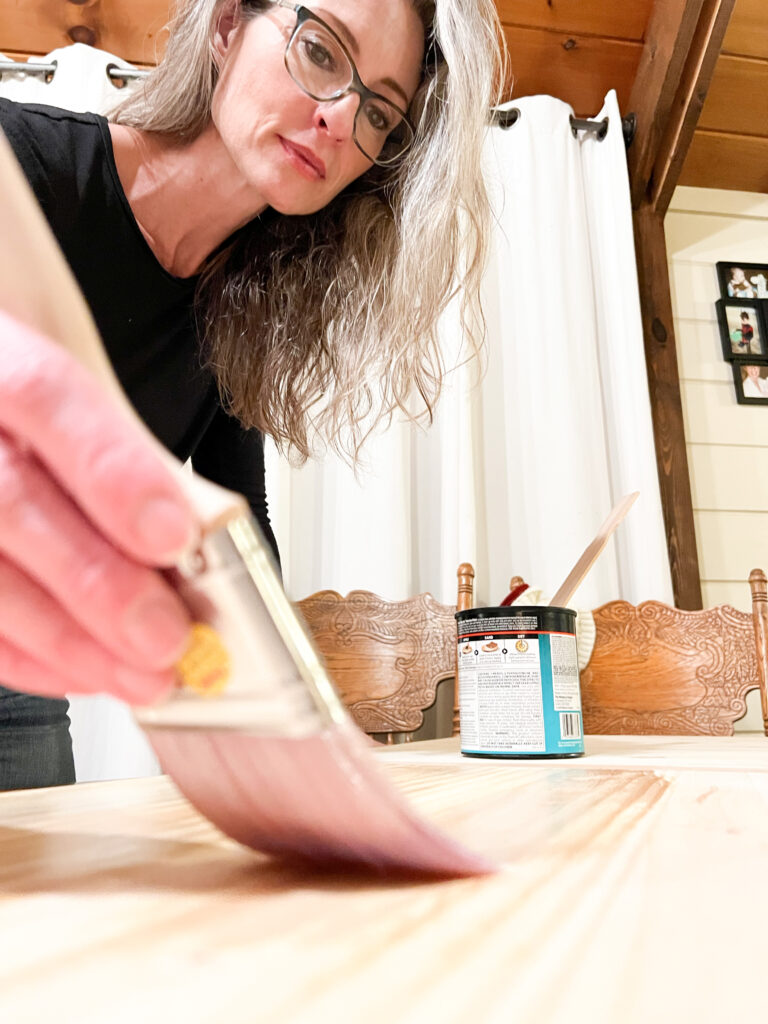
Time for Paint in this Upcycle an Old Metal School Desk Project!
I chose Rust-oleum Chalked paint in Linen White to paint the metal school desk.

I originally was going to use spray paint but it was cold and windy outside and I was in a time crunch. I also really like the look of brushed on paint. It flows so well with the overall feel of the piece.
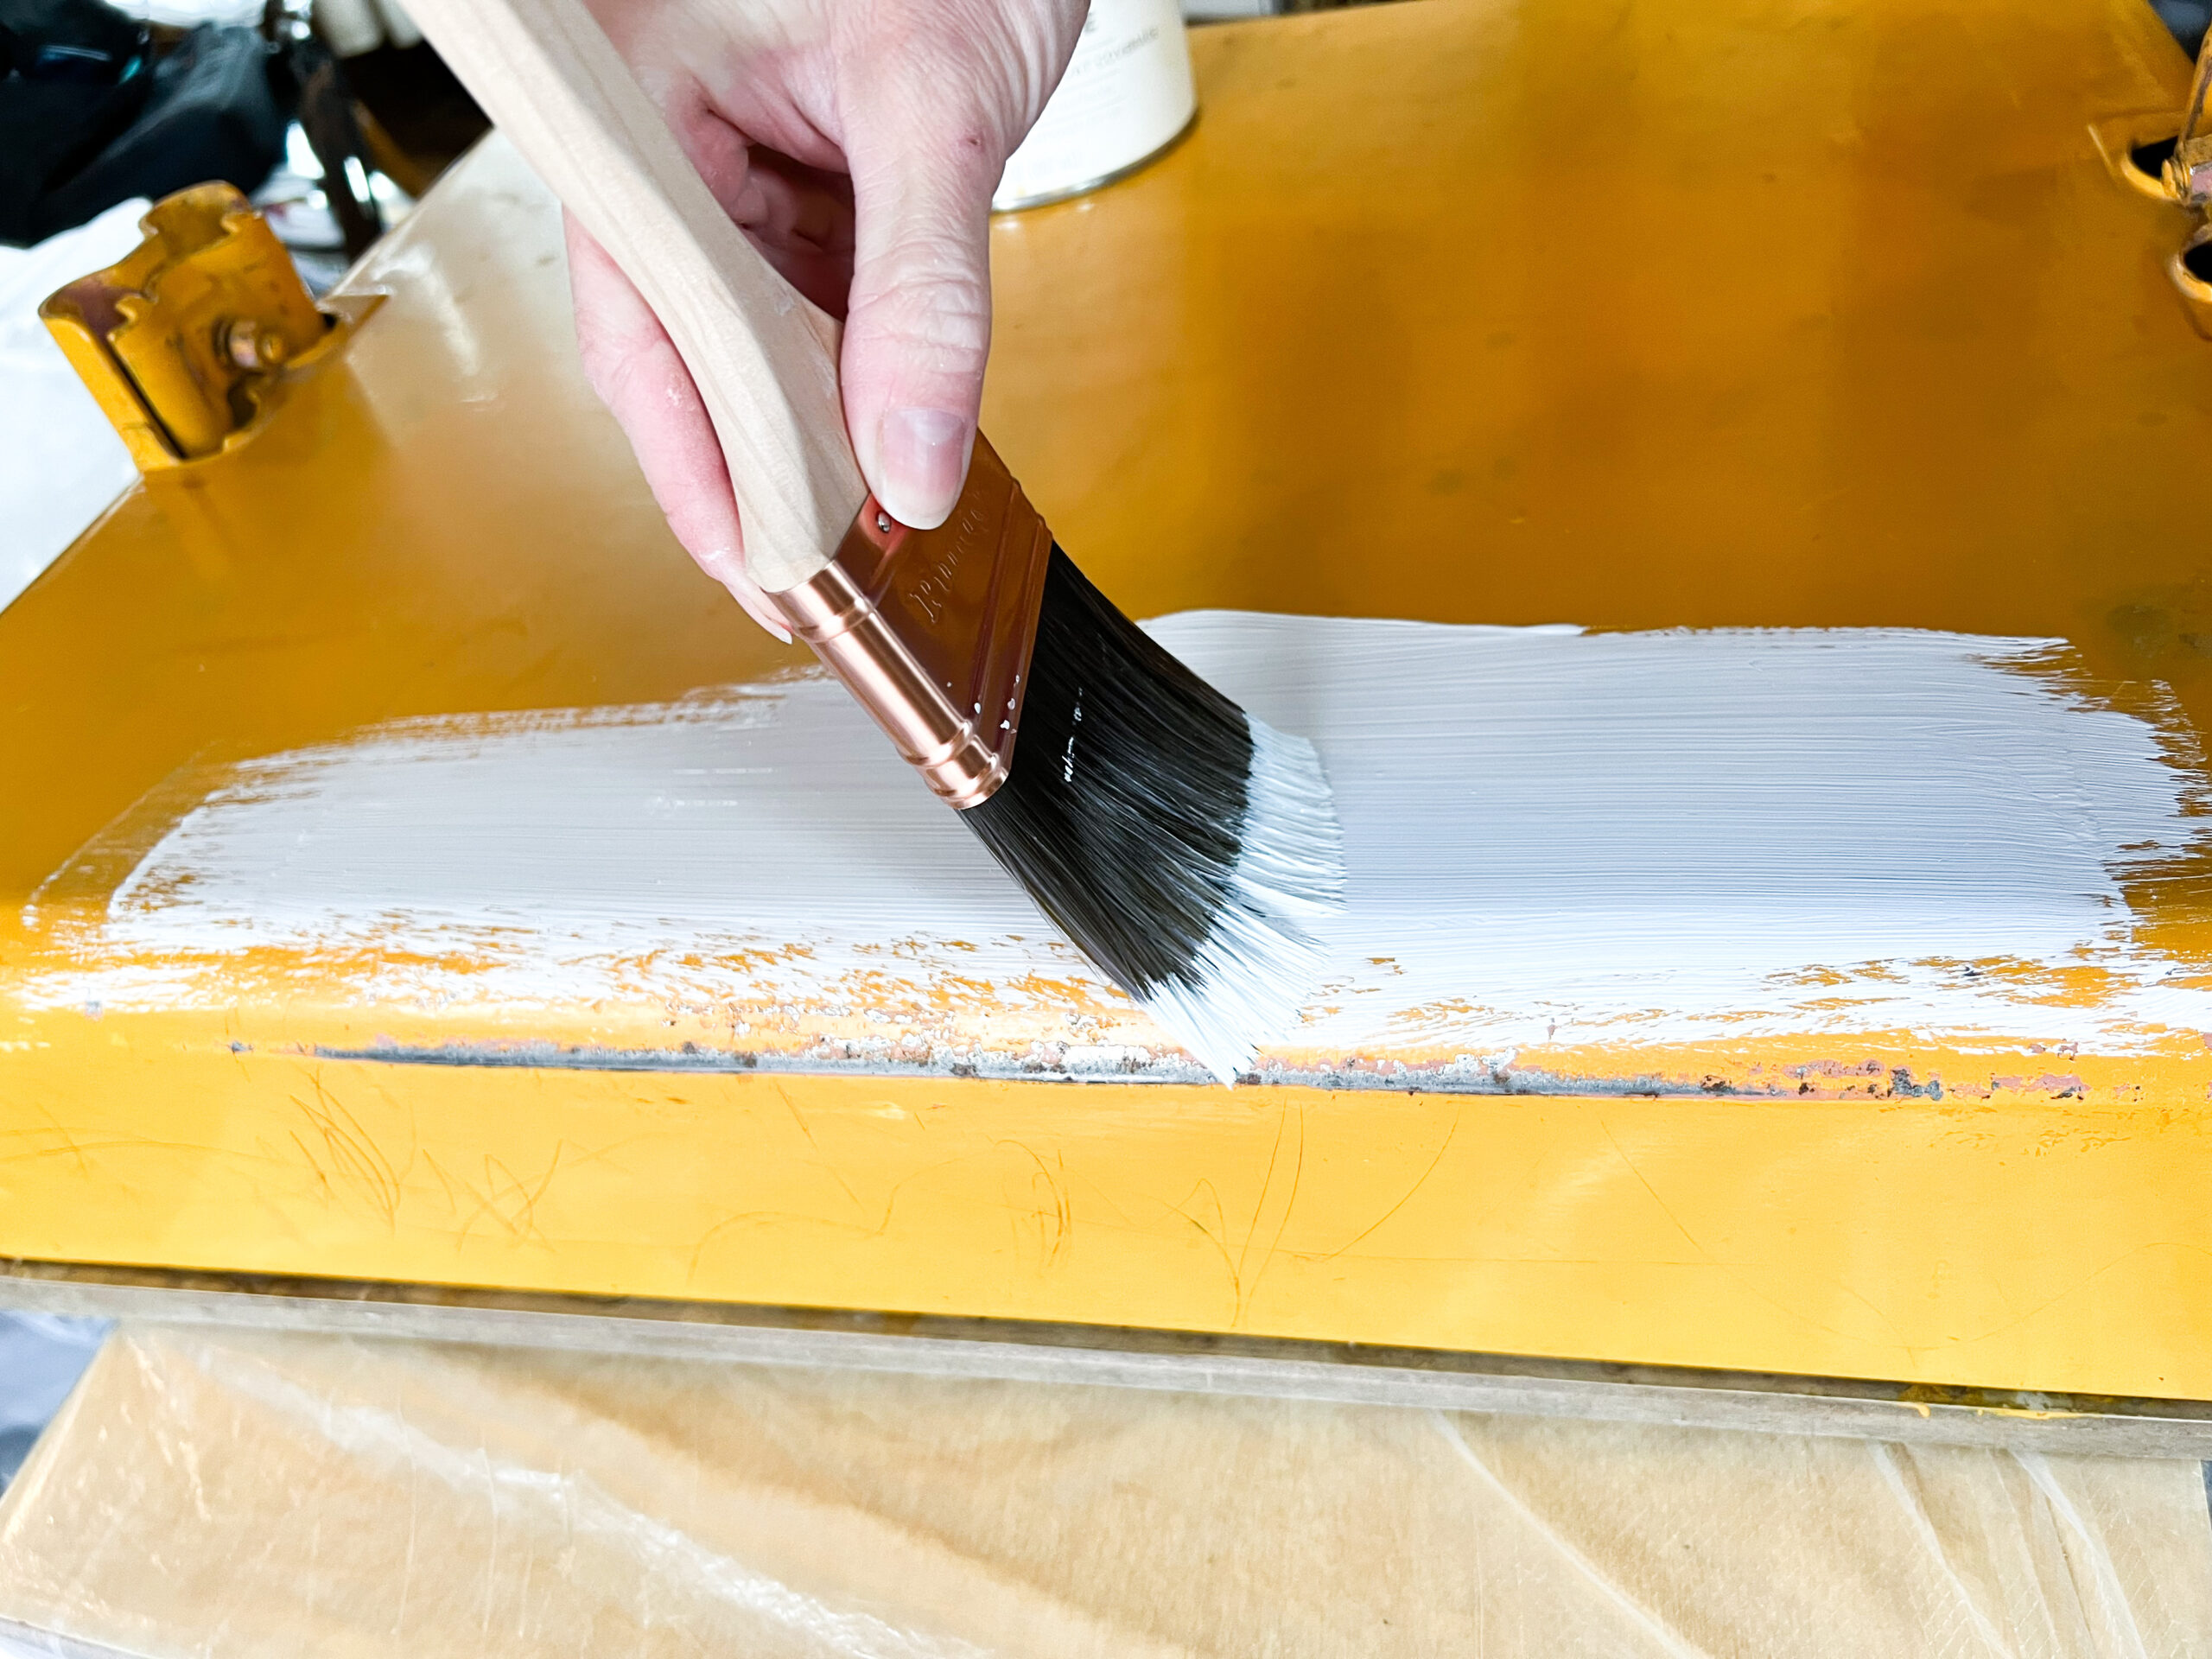


At This Point I’m LOVING How This Old Metal School Desk is Turning Out!
Let’s Refinish the Chair
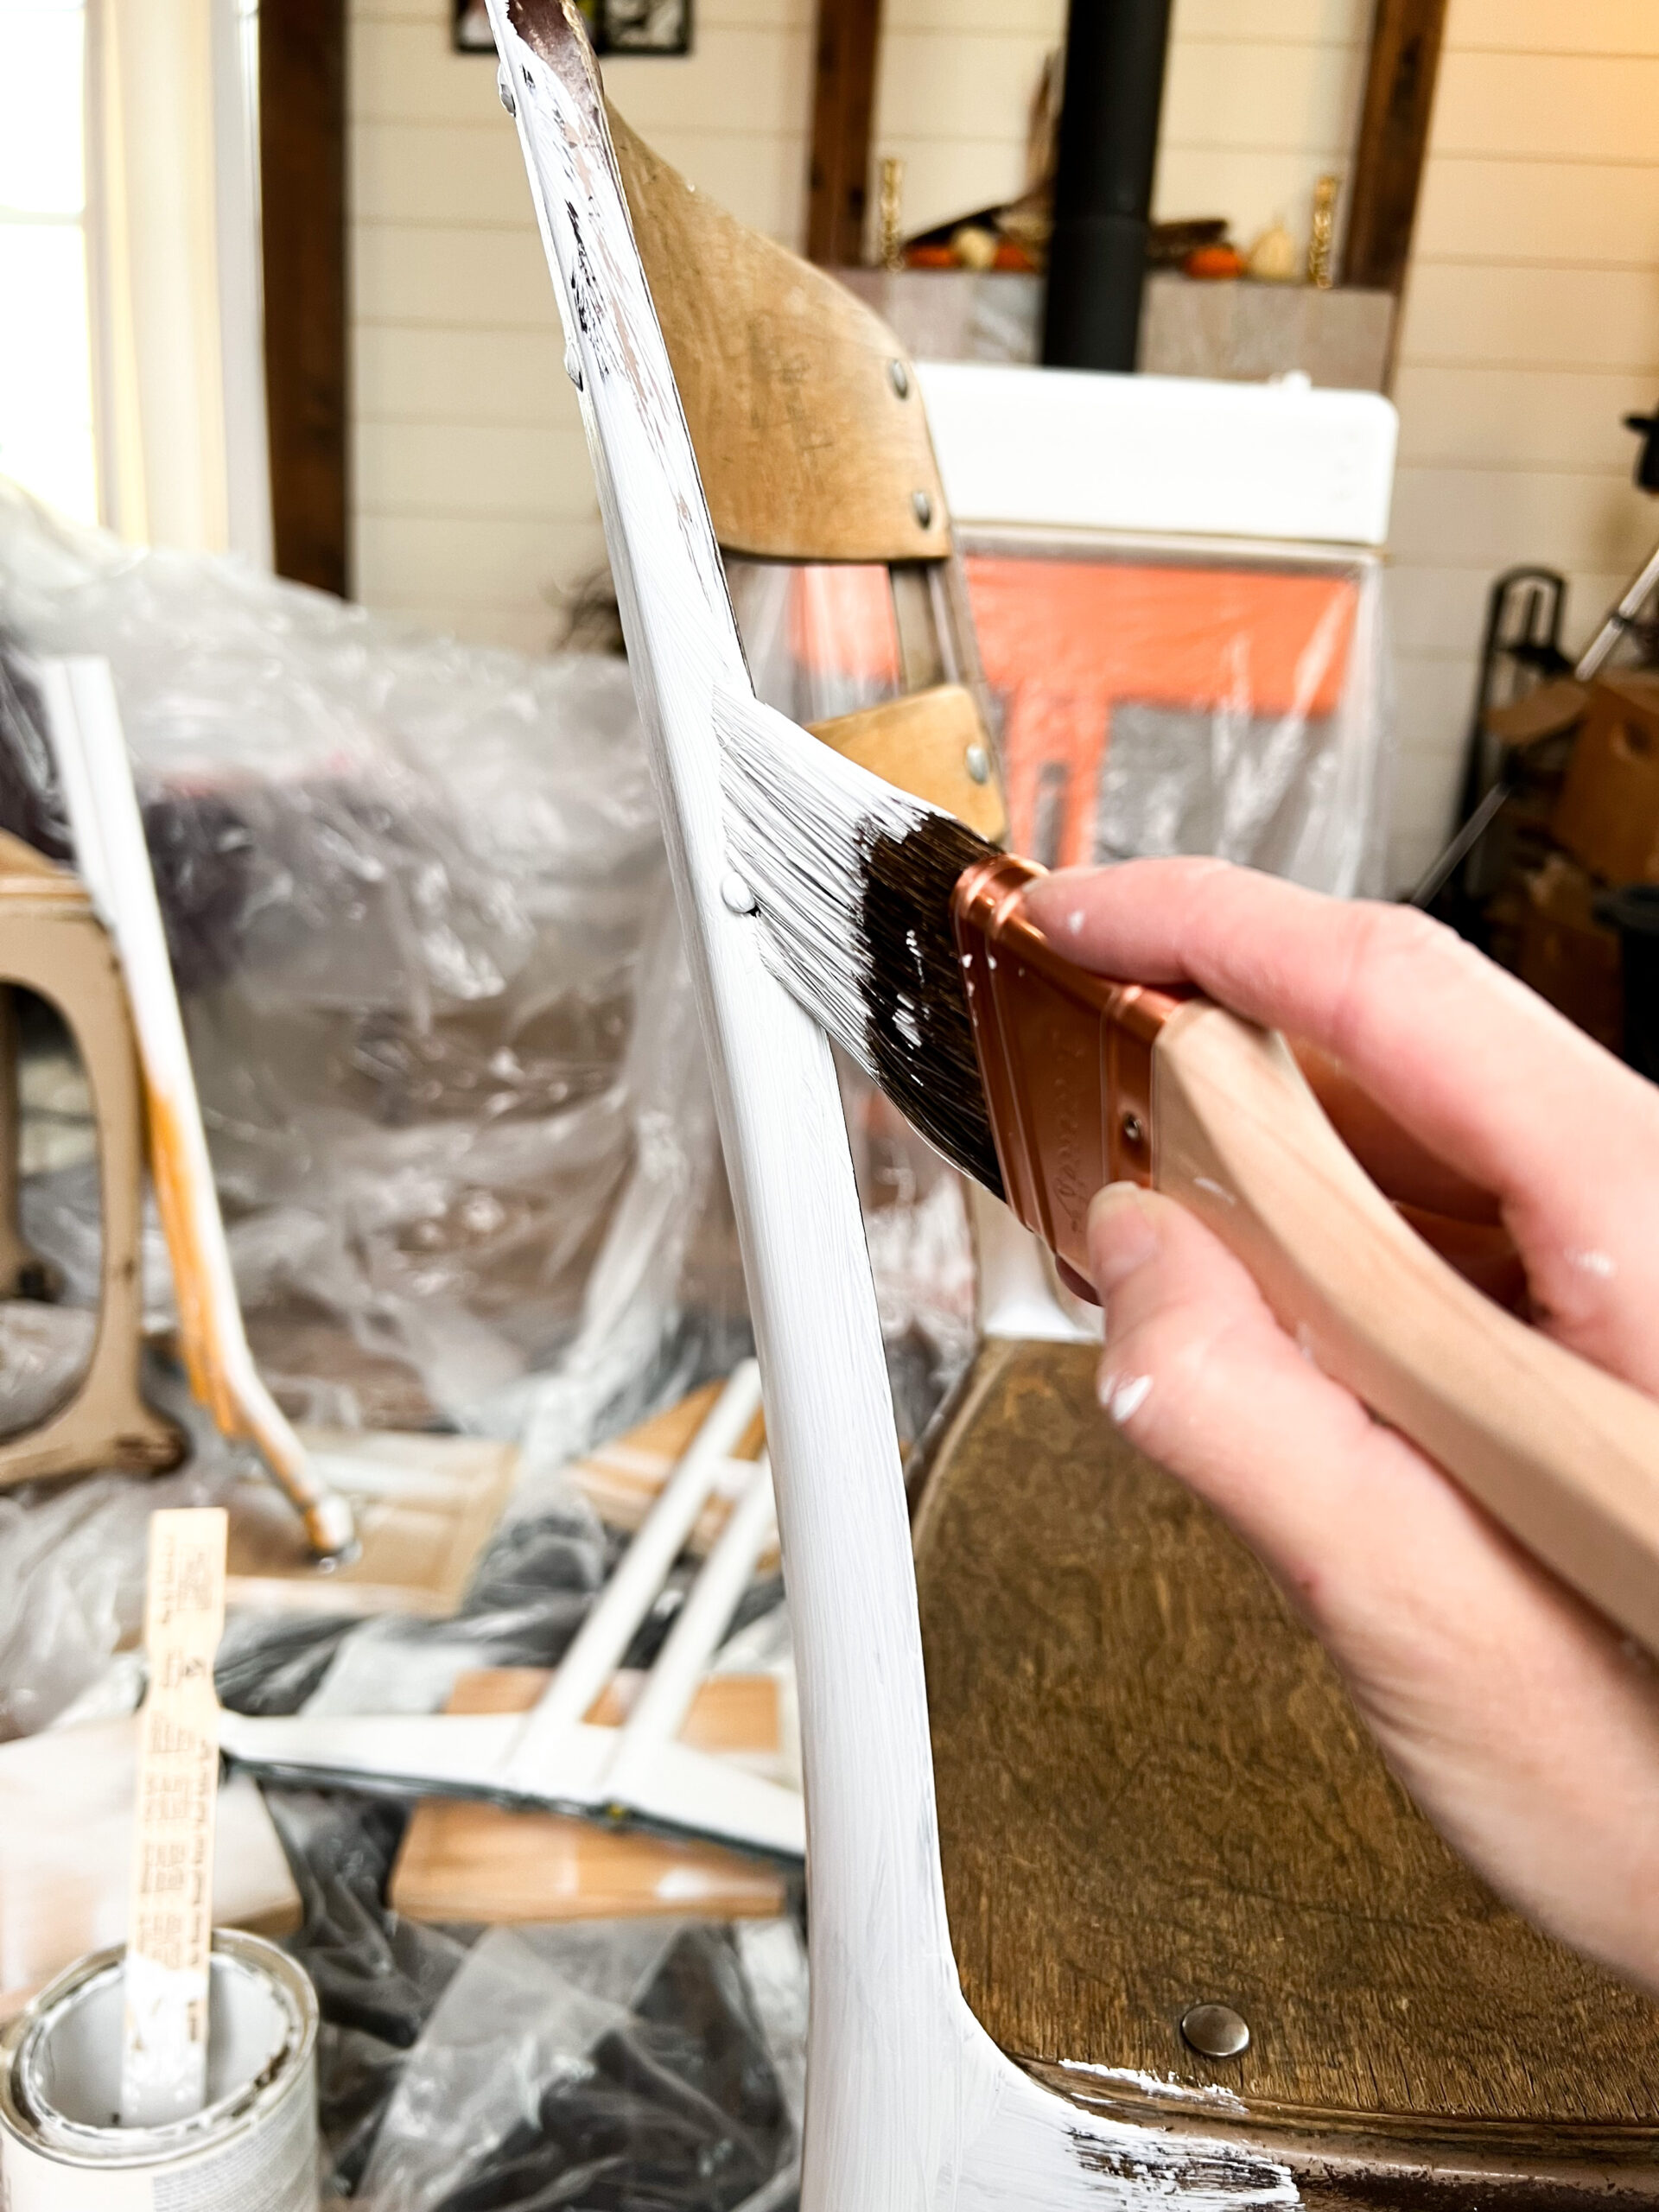
These desks had matching chairs with them so while the desk was drying, I started refinishing the chair. I really loved the idea of leaving the old wood on the seat but the metal really need some paint. I used the same Rust-oleum Chalked paint that I used on the desk.

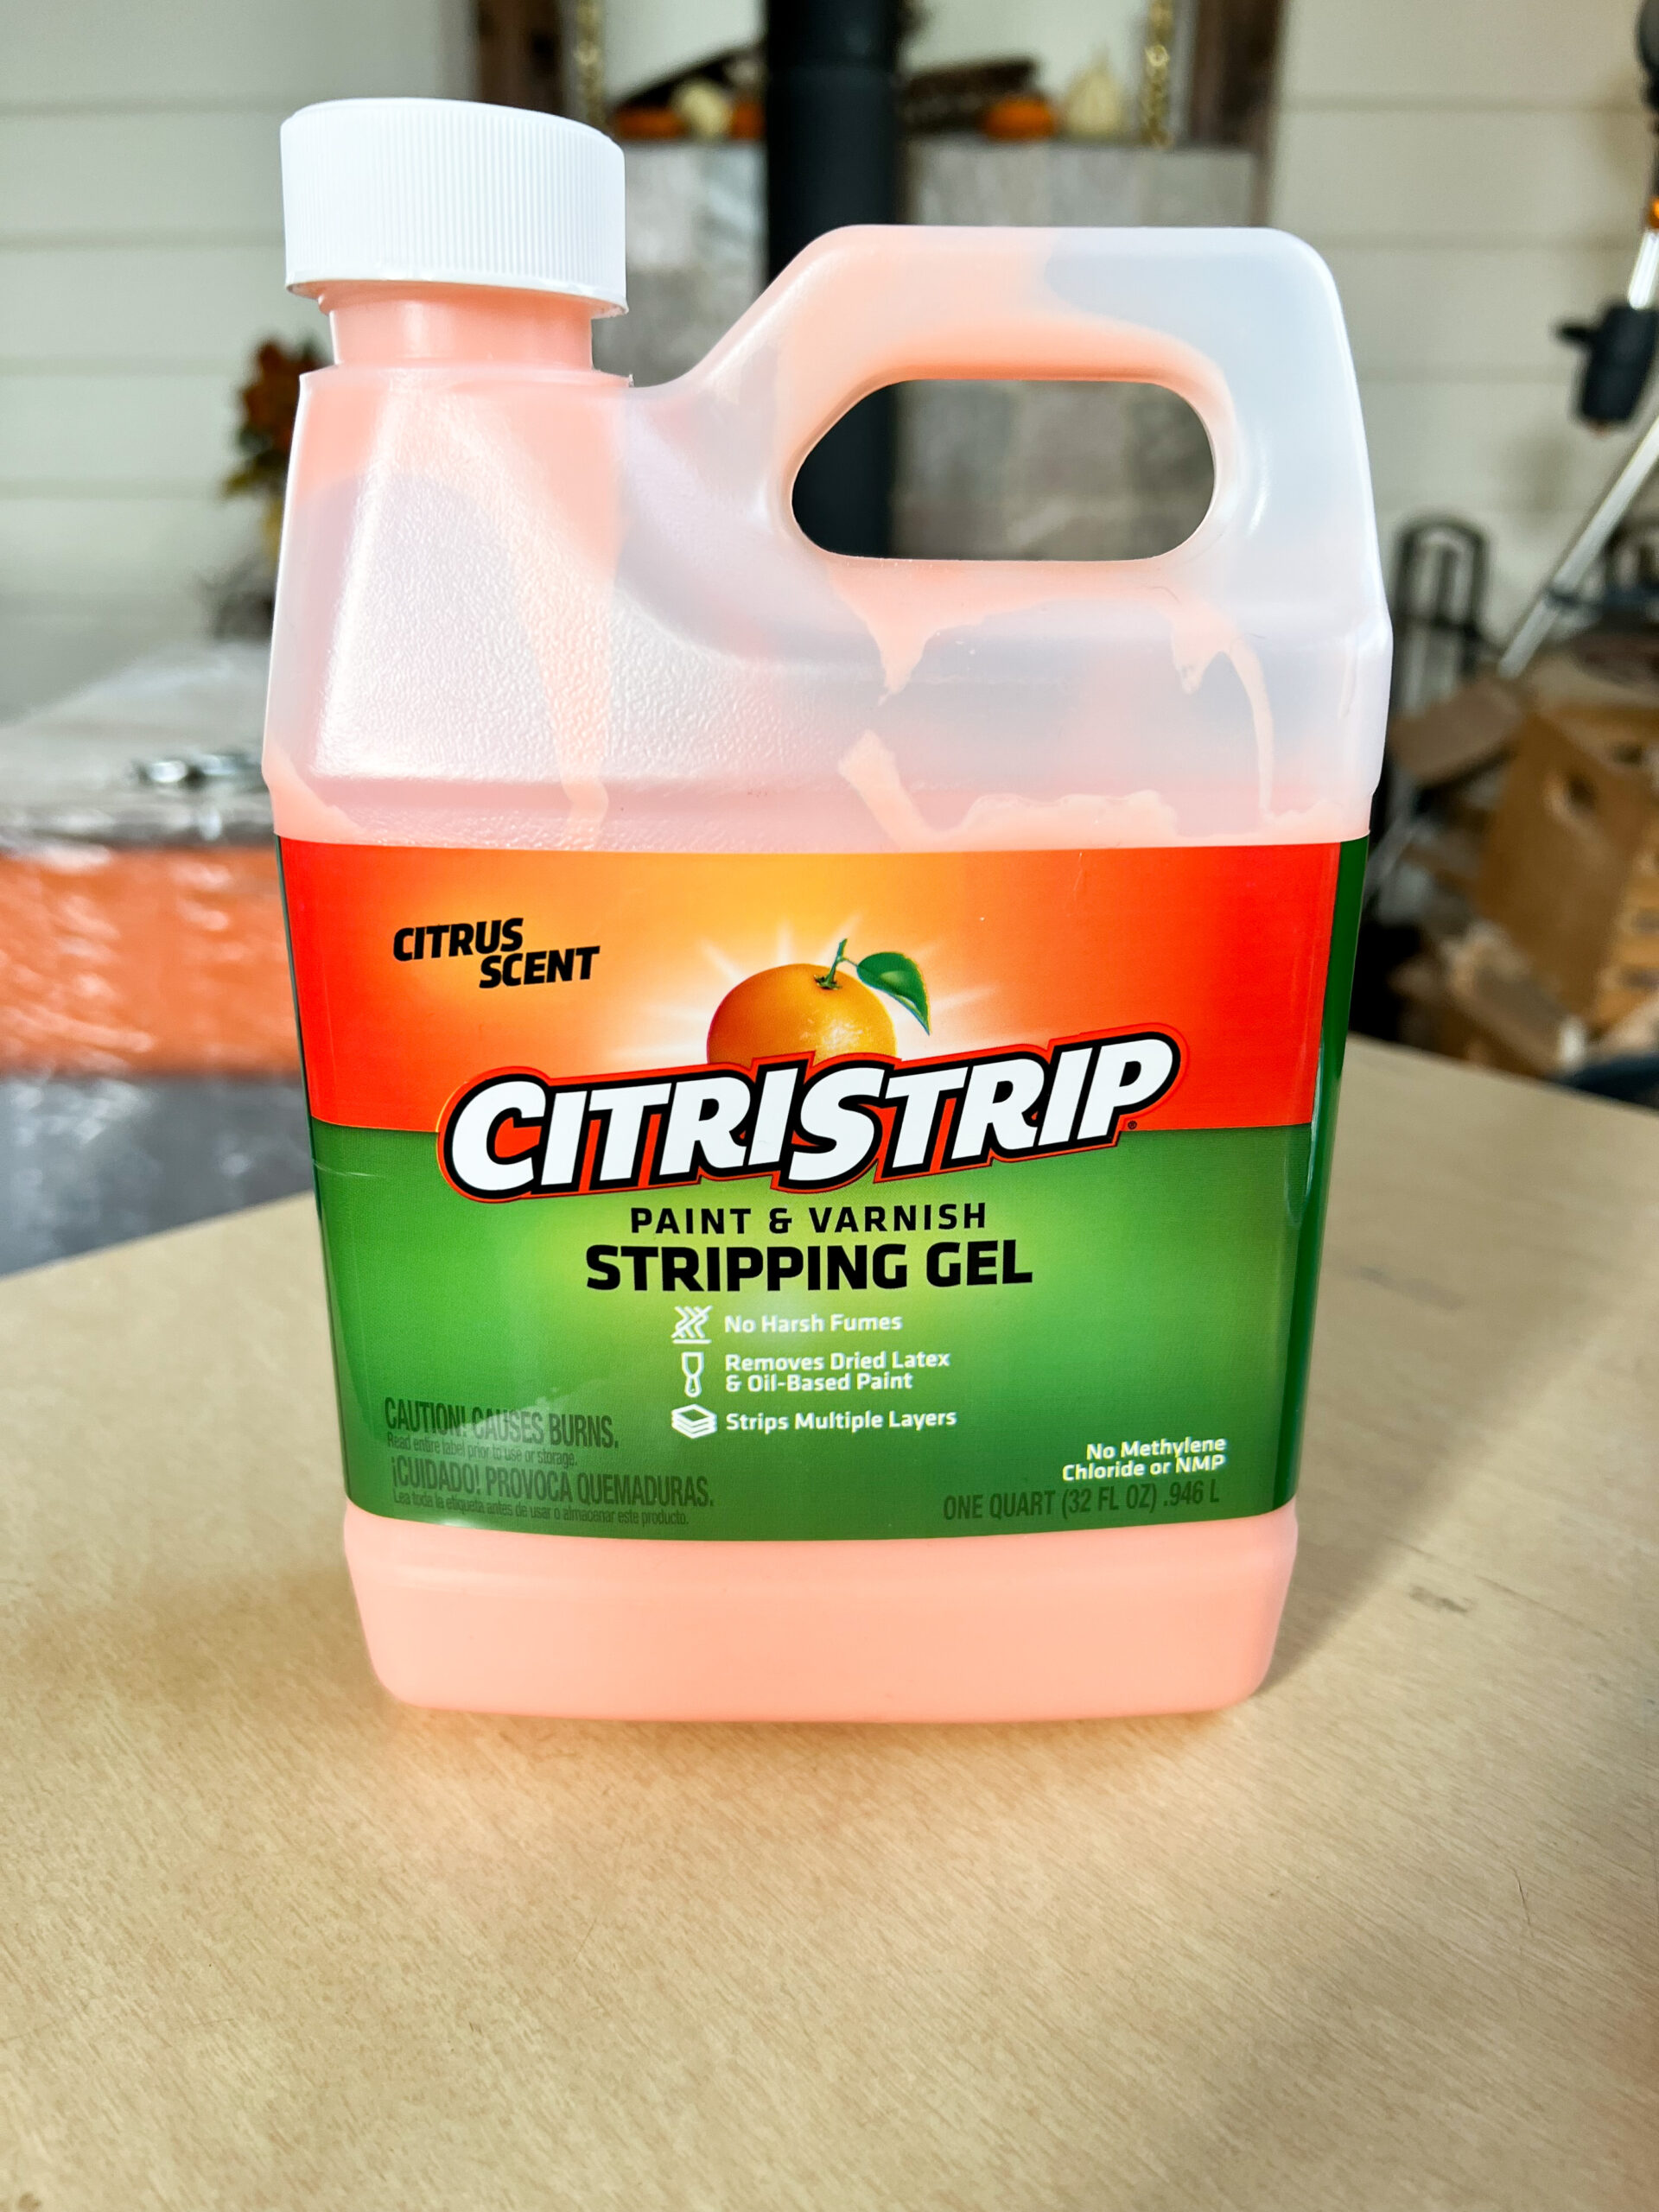
I used a paint and varnish stripping product on the seat of the chair to remove the stain, varnish, and years of grime. I usually use a product called ZipStrip but the hardware store didn’t have any in stock. I settled on one called Citristrip. It definitely didn’t have the fumes that the ZipStrip has, but it also definitely didn’t work as well. I allowed the Citristrip to sit on the wood for a while until it was bubbly. Using a plastic putty knife I scraped off the Citristrip, varnish, stain, and grime. As I said earlier, it didn’t work as well as previous products I’ve used, but it worked well enough. After I removed as much as I could and deemed it looked like what I was going for, I wiped the wood very clean with a wet paper towels. I then allowed it to dry.


Redesign With Prima Transfers for this Upcycle an old Metal School Desk Project!
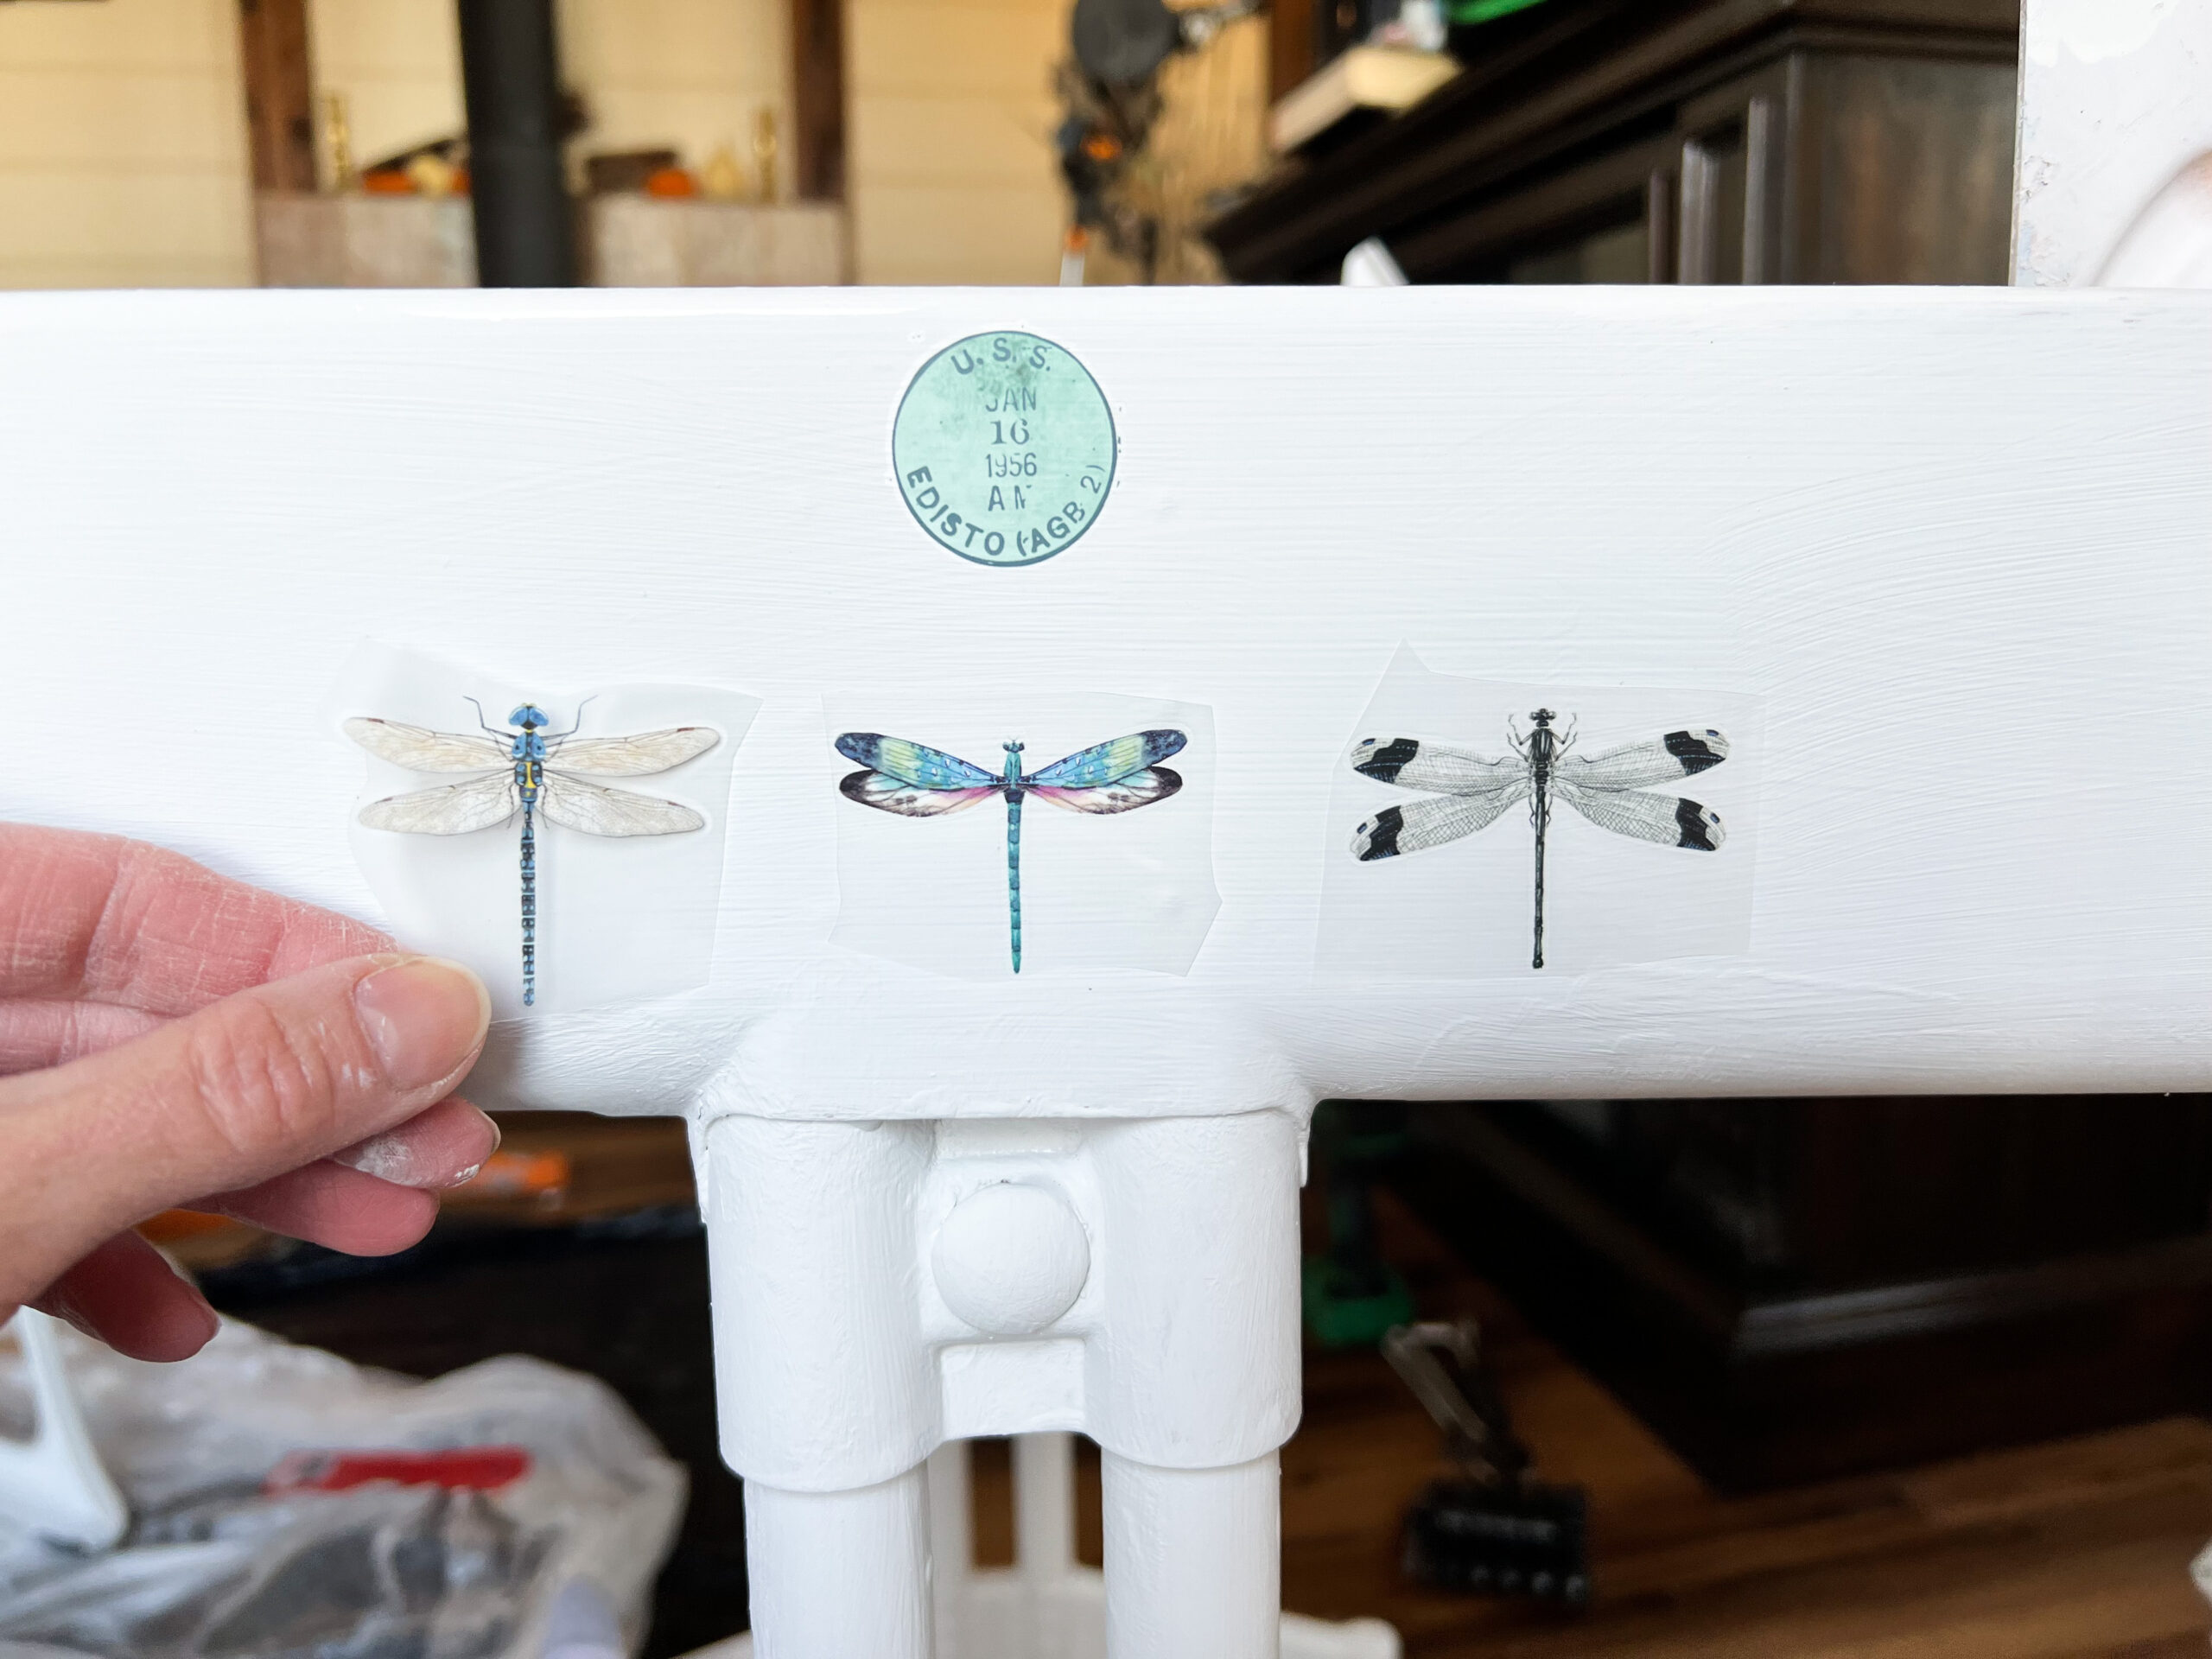
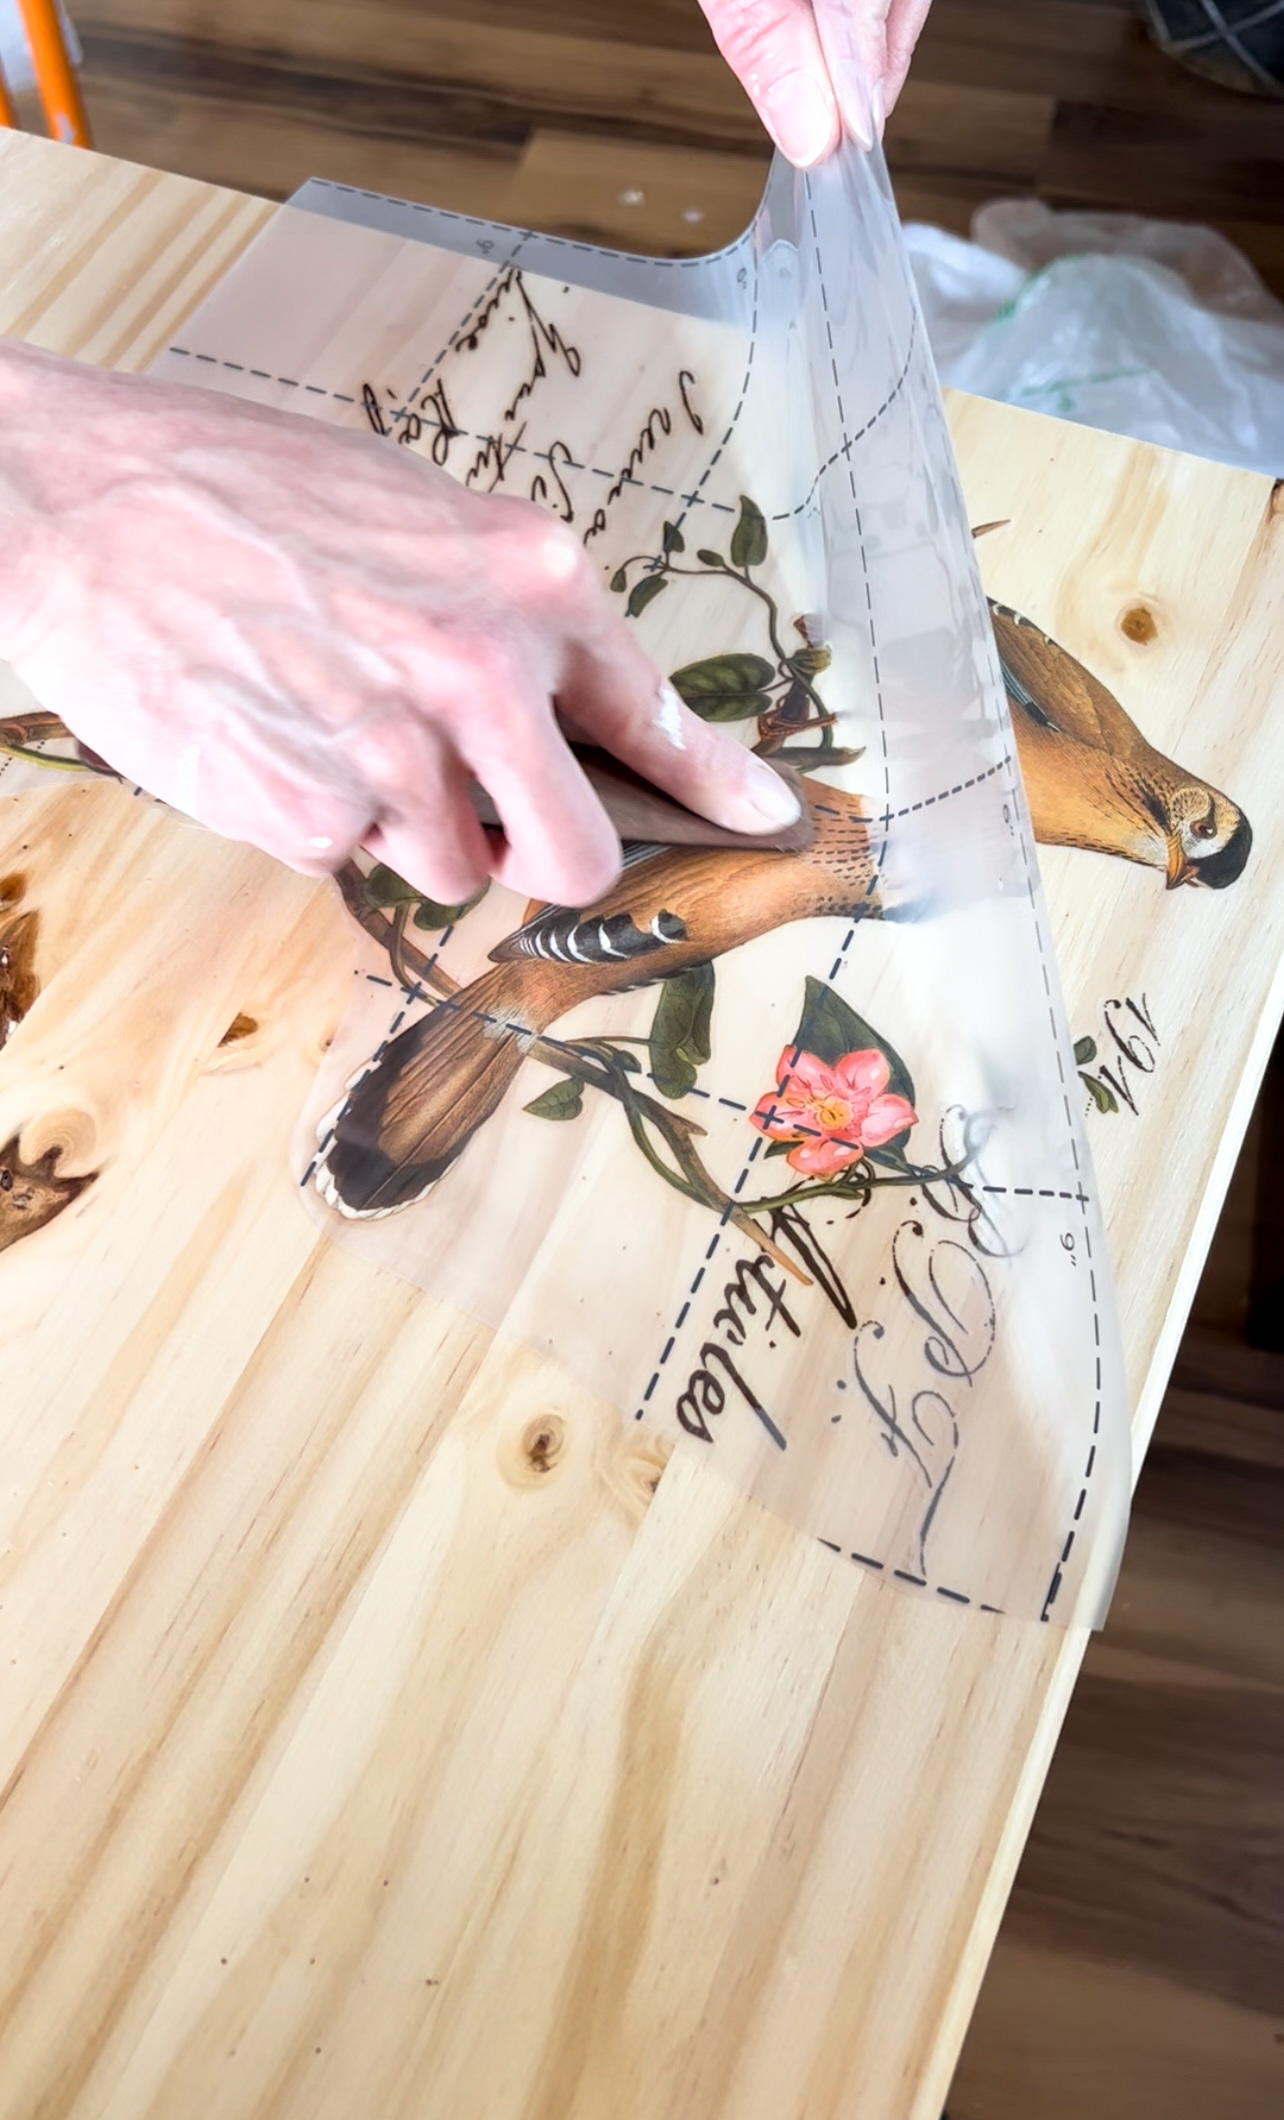
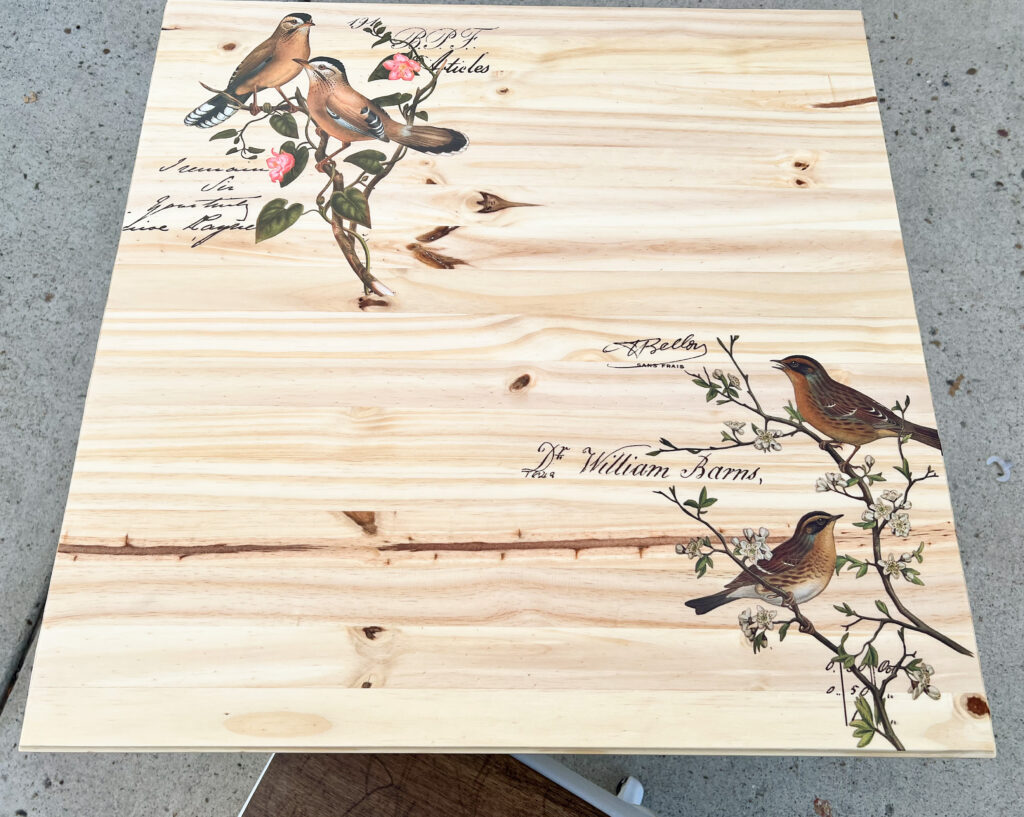
As my chair was drying, I began applying Redesign with Prima Transfers on the desk. I love these transfers because, not only are they beautiful, but also they empower EVERYONE, no matter their artistic skill, to create beautiful things. Simply choose how you want to lay out the designs. Cut them out if need be, pull off the backing, and place them where you want them. Rub over them with the transfer tool and pull the top paper off. Use the transfer tool to ensure that the transfer stays on your project as you pull. I used the Spring Dragonfly transfer on the desk and the Postal Birds Transfer on the wood desktop.
Wrapping it all up
To wrap up this project, I finished the entire desk, top, and chair with MinWax Polycrylic in Clear Satin. It’s also a really good product to use over the transfers to protect them. This is my favorite product for all interior finishing that I do.

That’s a Wrap!
I hope you enjoyed this make over and I’ll see you on the next one!!
xoxo,
Stephanie