This was one of my favorite DIY projects! I just LOVE the look of wood and black pipe furniture. I lOVE how it spans so many different design styles, from traditional farmhouse to urban modern depending on how you style the space.

Let’s get started!
I started out by ripping a 2×12 into 2 pieces 4 1/2″ wide for the outside pieces. I did this because, in my experience, boards that are thinner in width are usually warped in some way. Even the slightest bend is harder to work with to get the desired result. A 2×12 board can be found very straight which is PERFECT for this project. Using my table saw, I ripped off the rounded construction edges on the middle 2×12 bringing it down to 10 1/4″. These cut edges give a nice tight fit. If you don’t rip those edges off you will get a groove where the rounded edges meet. For this project, since it’s a writing desk, I wanted a very flat surface. I left the rounded edges on the outside of the 2 side pieces.

Time to drill pocket holes!
I used my Kreg tool to drill pocket holes. The Kreg tool is awesome for this kind of application because it helps to make the joints really solid and really tight. I drilled the holes for the pocket screws into both sides of the wider middle piece.

Here you can see my screws placed and ready to go in.
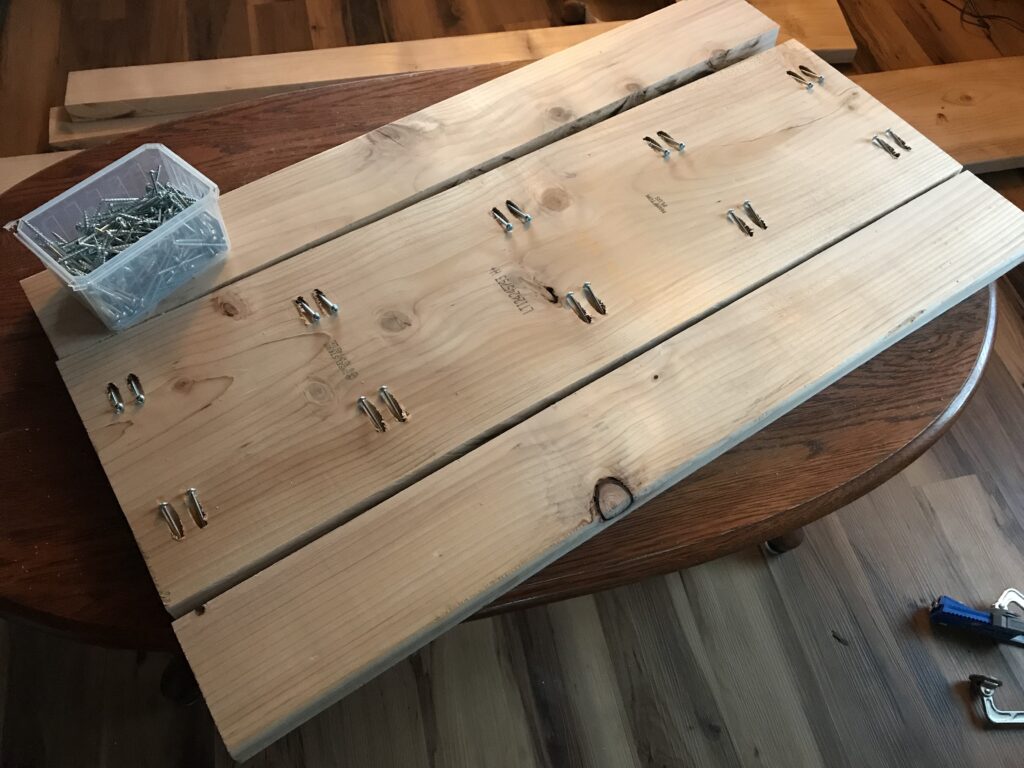
It’s really helpful to have a Kreg clamp to use while you are drilling the holes as well as to use again to hold the wood tightly together as you drill in the screws.
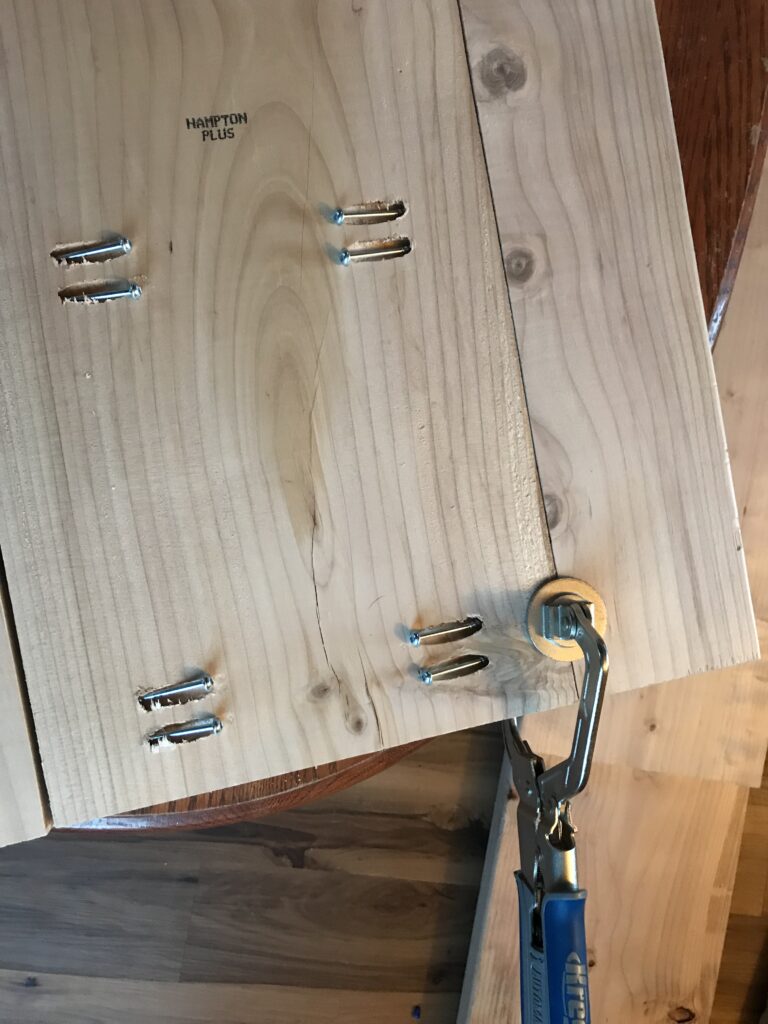
I cut end pieces to cap the ends of this table. I screwed together the 3 main pieces and then measured the length of the end caps to make sure the length was perfect.
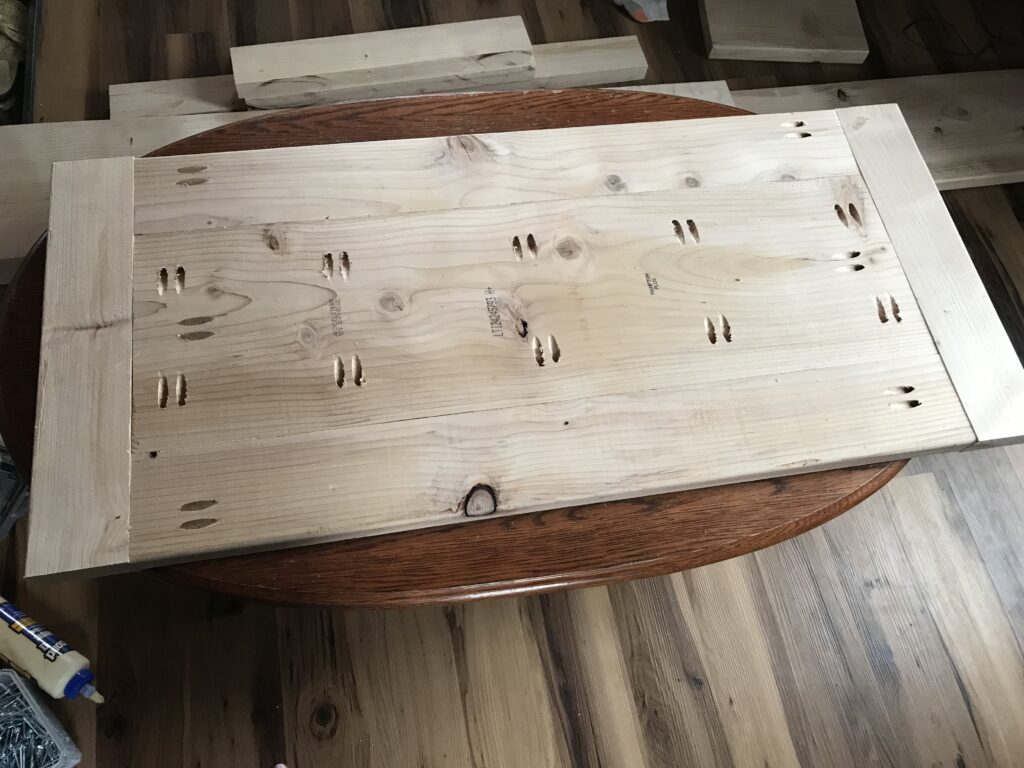
Next, I put in the pocket hole plugs. I can’t believe I didn’t take a picture of the pockets hole plugs after they went in, but they are there!! To put them in you just use wood glue in the hole and slide the plug in. Then I sanded the whole table and made sure those plugs were nice and even with the rest of the surface.
Let’s finish the wood!
I stained the wood with Cabot interior stain in Walnut color and the next day, after it was completely dry, brushed on a layer of Minwax water based Polycrylic in a clear satin finish. I finish all of my projects, paint or stain, with this product. I just LOVE, LOVE, LOVE it!

Sanding 
Staining 
Protective Polycrylic coat
Time for the black pipe!
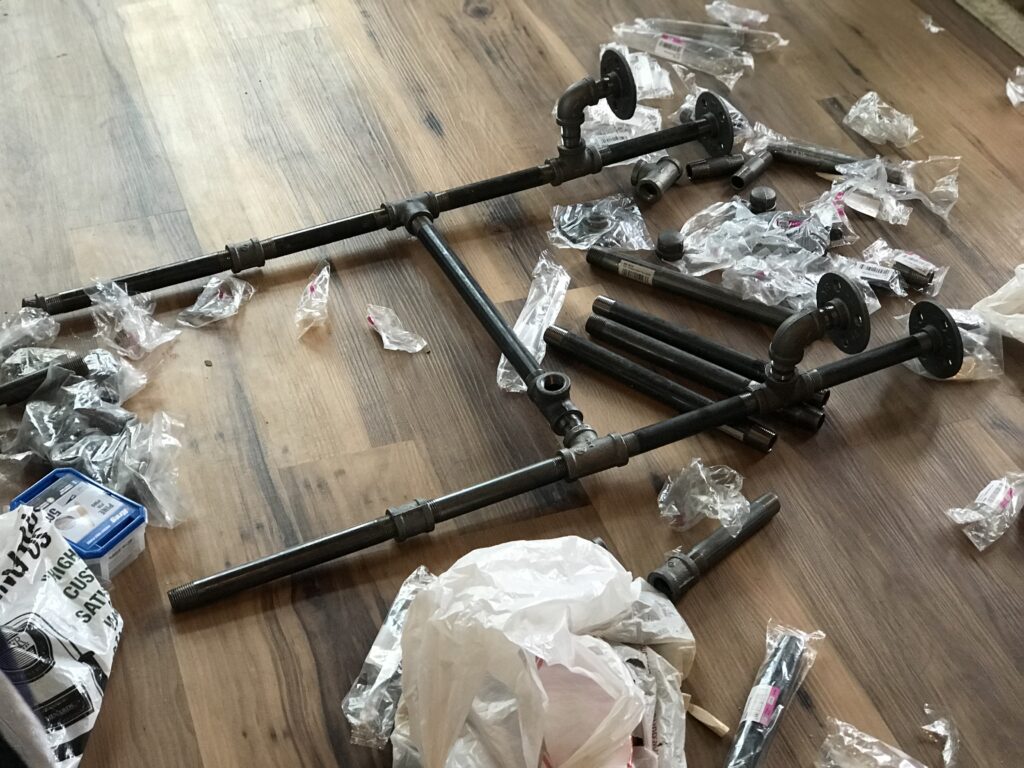
I was really excited for this part! Something I learned though, is that sometimes they don’t all go together the same. There can be variations in lengths because of threading. You have to tighten and loosen to get the table to sit properly. Here in the following picture you can see the pipes.
The flange is the top where the pipes connect to the wood. So, from the floor where the pipe cap is, the lengths I used were: 8″, coupling, 6″, tee, 5.5″, tee, 4″, and then the flange. The sides had a 12″ pipe cross bar at the tee between the 6″ pipe and the 5.5″ pipe. This 12″ pipe went into another tee that was then followed by a 1″ pipe. I did this so I could put in a long 36″ black pipe across the back.
The little pipes that held the under layer of wood went like this: from the tee between the 5.5″ pipe and the 4″ pipe, I put a 2″ pipe in and then an elbow followed by a 1″ pipe and then the flange.

With this table I did 2 levels, the main top and then a level under the main top for papers, pens, etc. The under level was a piece of edge glued pine that I cut to the size I wanted.
It’s important to note that I attached the black pipe to that level first. I then attached the desk top to its flanges.


The Desk is finished and I LOVE IT!!
